The Beginner’s Guide to the Assisted Pull-Up Machine
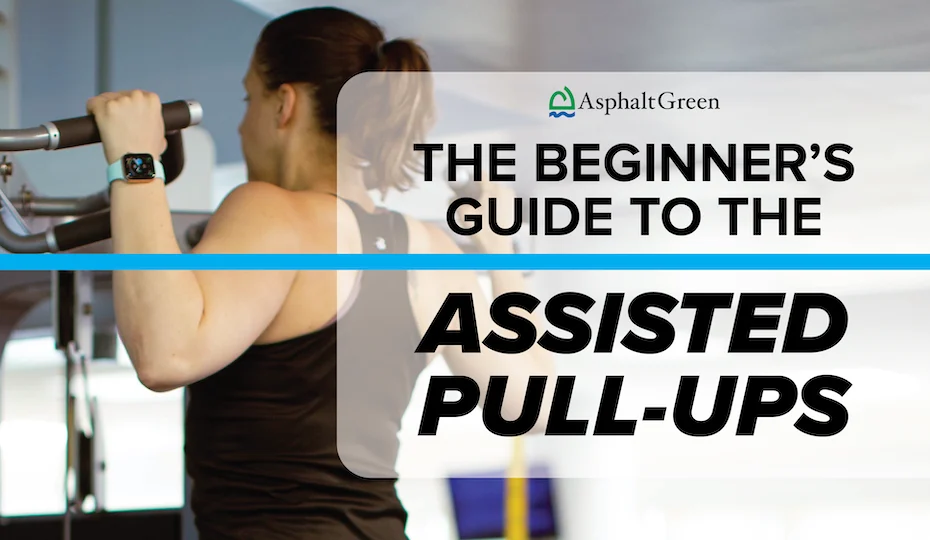
![]() Pull-ups are a fantastic way to improve upper-body strength. This exercise primarily targets your back and biceps, but involves many stabilizing muscles in your core, arms, and shoulders. Depending on the way you grip the bar, you can even work your chest. Plus, you don’t need any fancy equipment to do a pull-up. Tree branches, scaffolding, and even door frames are all places people can do pull-ups.
Pull-ups are a fantastic way to improve upper-body strength. This exercise primarily targets your back and biceps, but involves many stabilizing muscles in your core, arms, and shoulders. Depending on the way you grip the bar, you can even work your chest. Plus, you don’t need any fancy equipment to do a pull-up. Tree branches, scaffolding, and even door frames are all places people can do pull-ups.
Before you go looking for a branch, though, it is important to keep in mind that many people can’t do a single pull-up, leaving them with no place to start. That’s where the assisted pull-up machine comes in!
This machine is the single best way to go from zero pull-ups to pull-up hero. Some people will point out that you lose a little range of motion and core engagement with the machine. However, it’s totally worth it if you want to work your way up to doing pull-ups without any assistance.
Setting up the Machine
Setting up the machine is easy. Use the pin to select how much weight you want the machine to help you with. The level of assistance you should choose will depend on your body weight as well as your upper back and arm strength. Remember, the amount of weight you choose will be subtracted from your total body weight. For example, a 150-pound person with a 25-pound assist is now lifting 125 pounds.
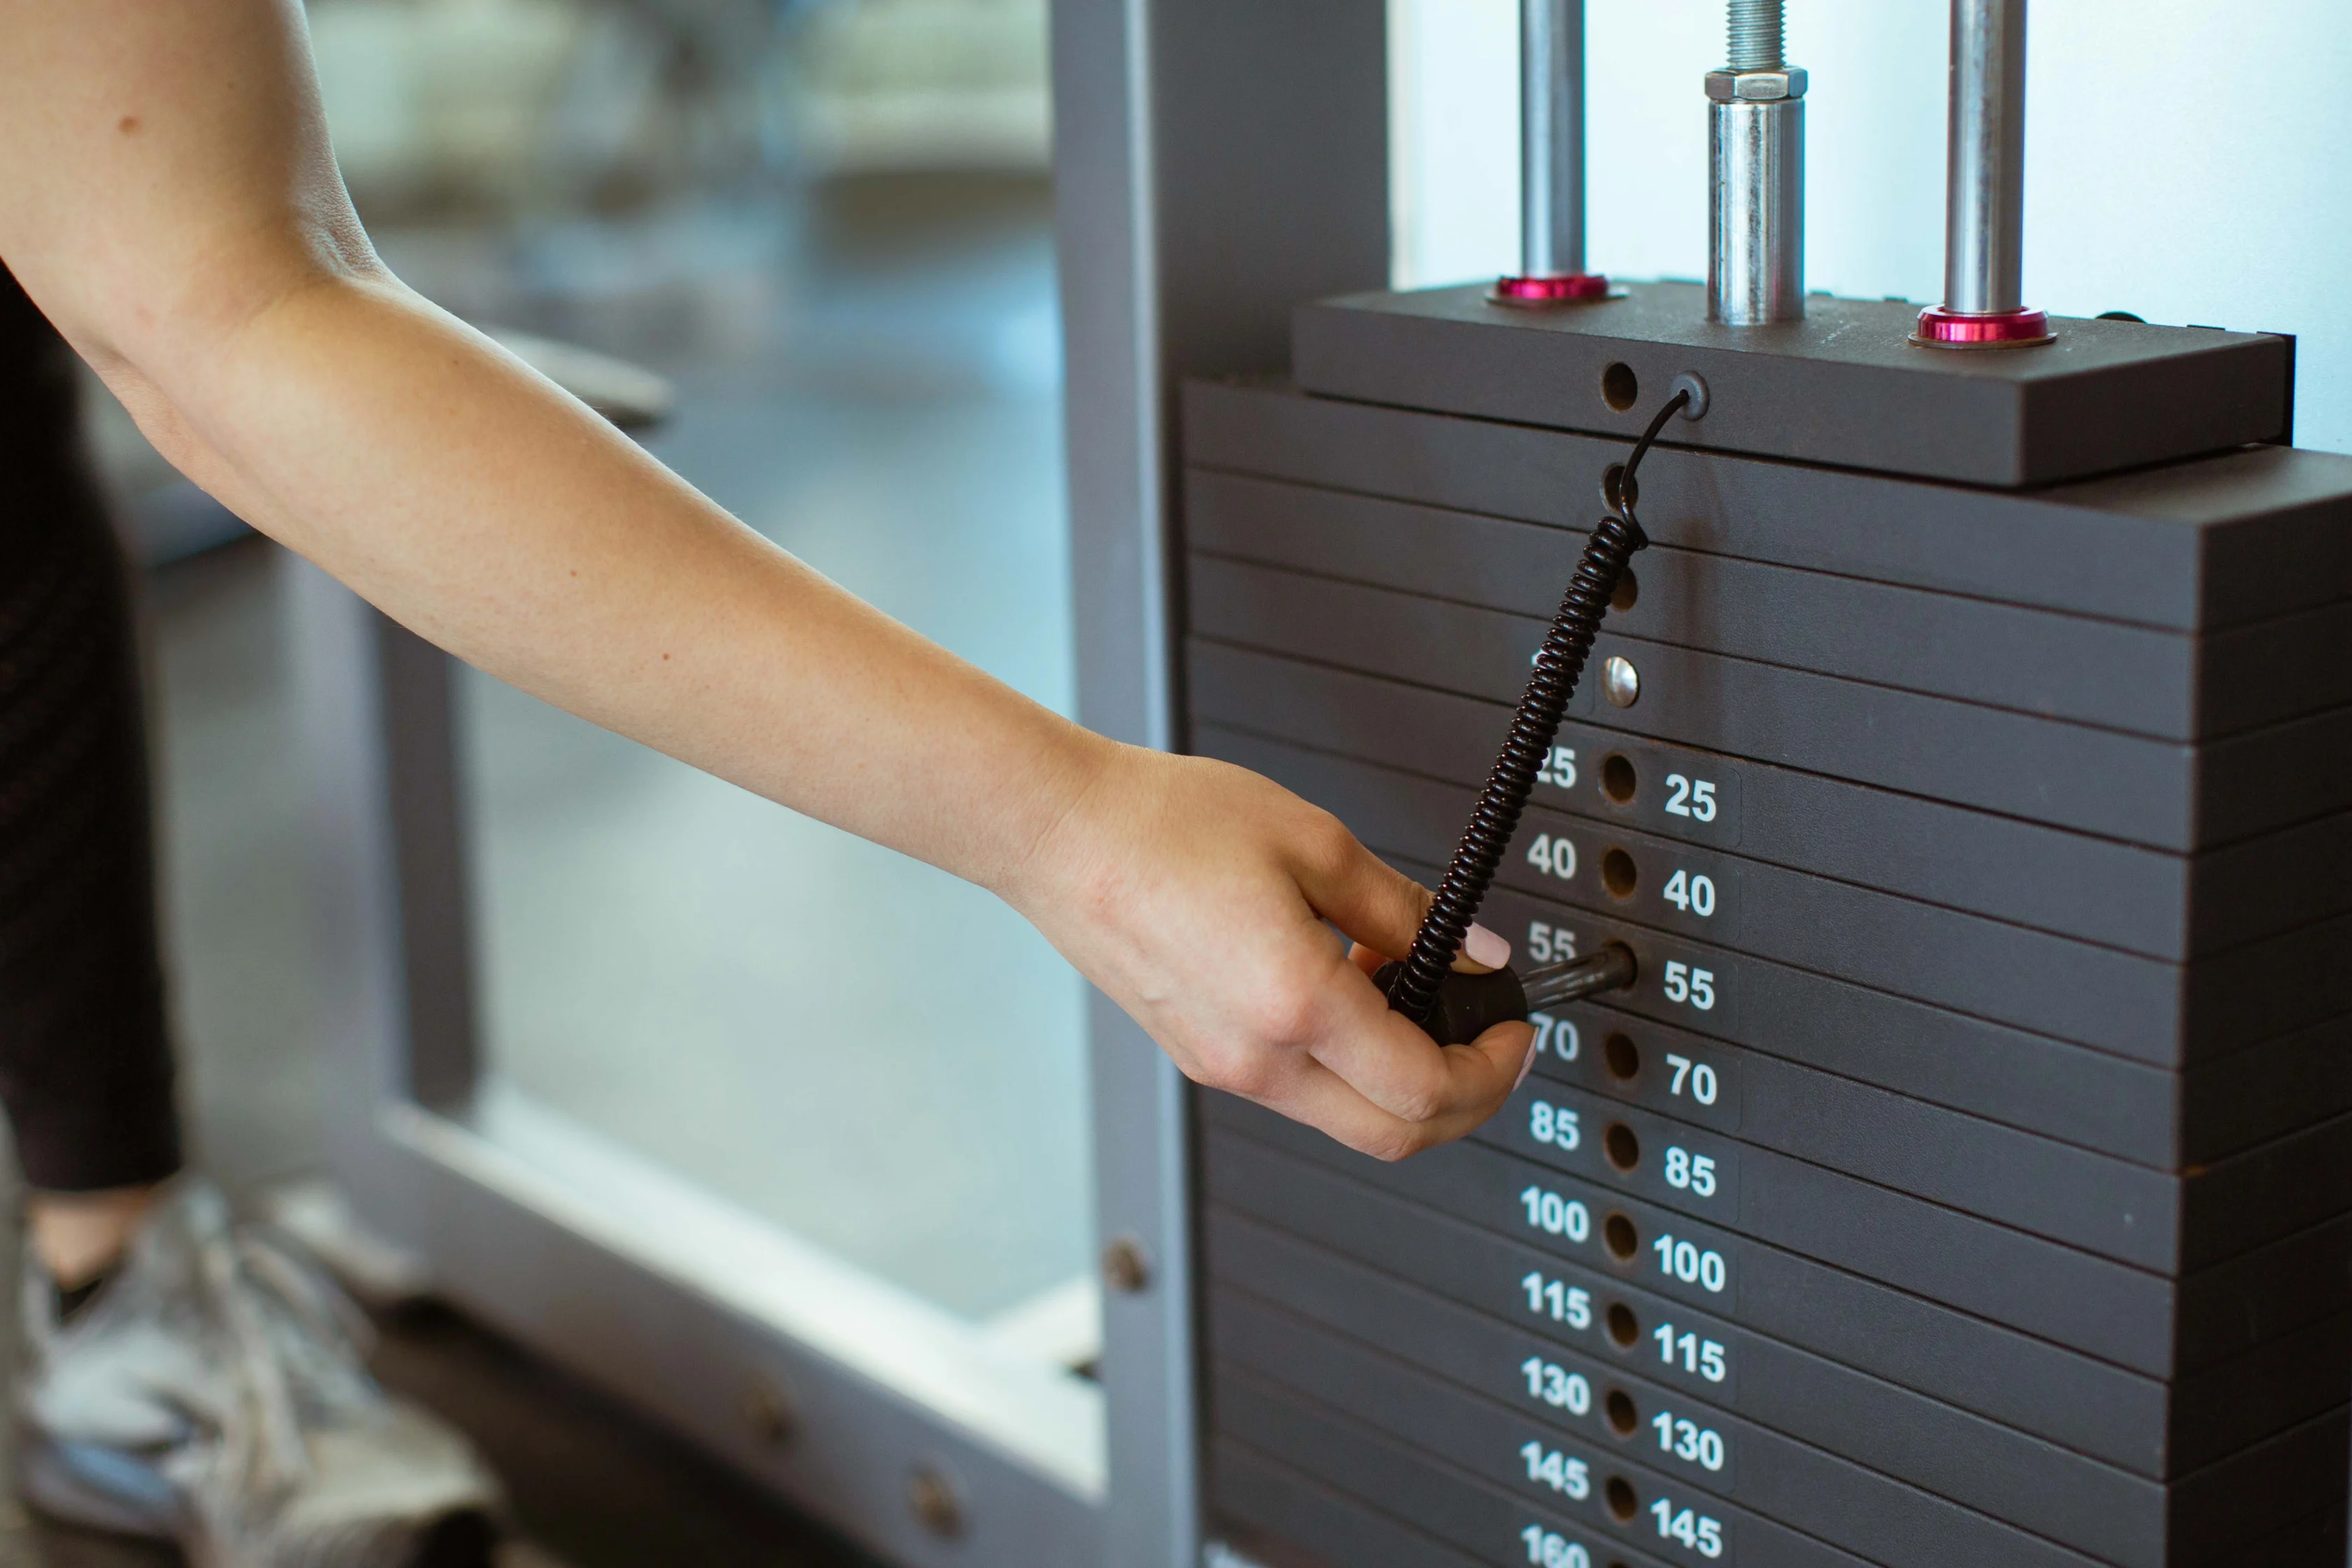
Choosing the correct amount of weight assistance can involve a little trial and error. You should be able to do a meaningful number of reps (5-10) per set, but you don’t want those reps to be too easy – you should feel the burn at the end of each set. You’re here to build strength, after all! A good spot to start is with around half of your body weight. Work up or down from there until you find the perfect resistance level.
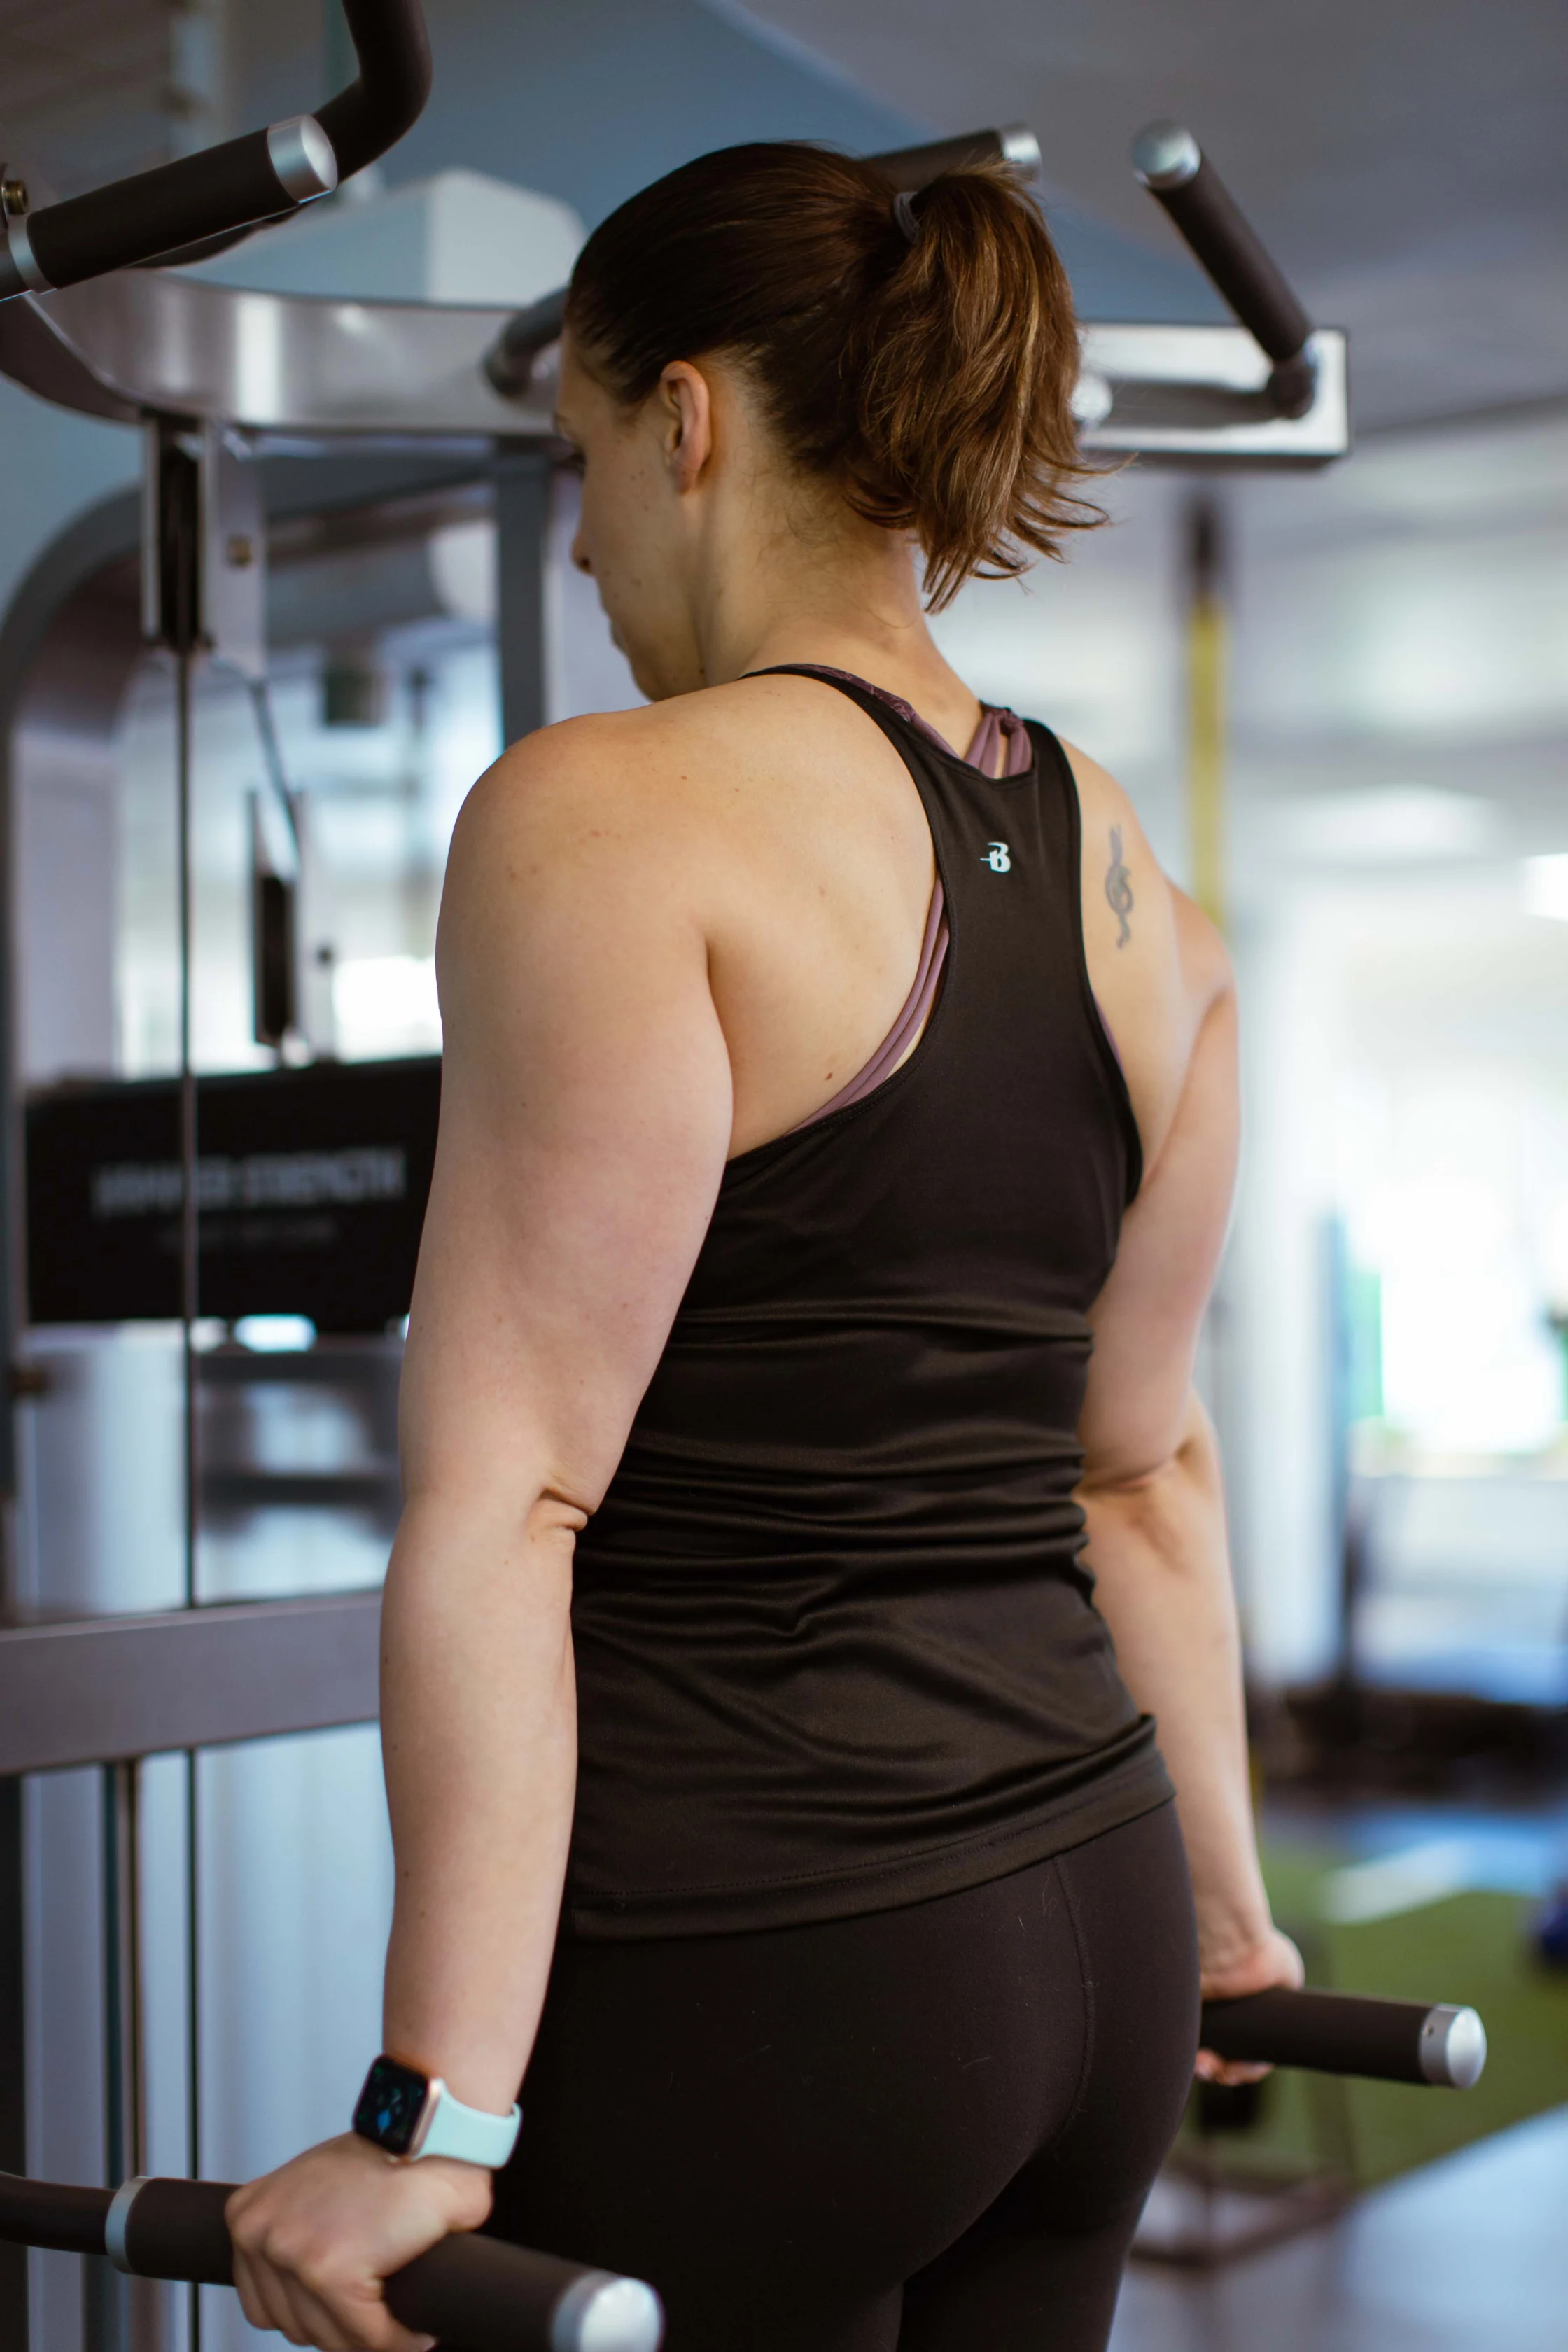
Next, it’s time to choose your grip. Our personal trainers recommend starting with the two parallel handles closest to the midline of your body. Pull-up pros call this the hammer grip, and it will let you get a good assist from your biceps while you develop your other muscles.
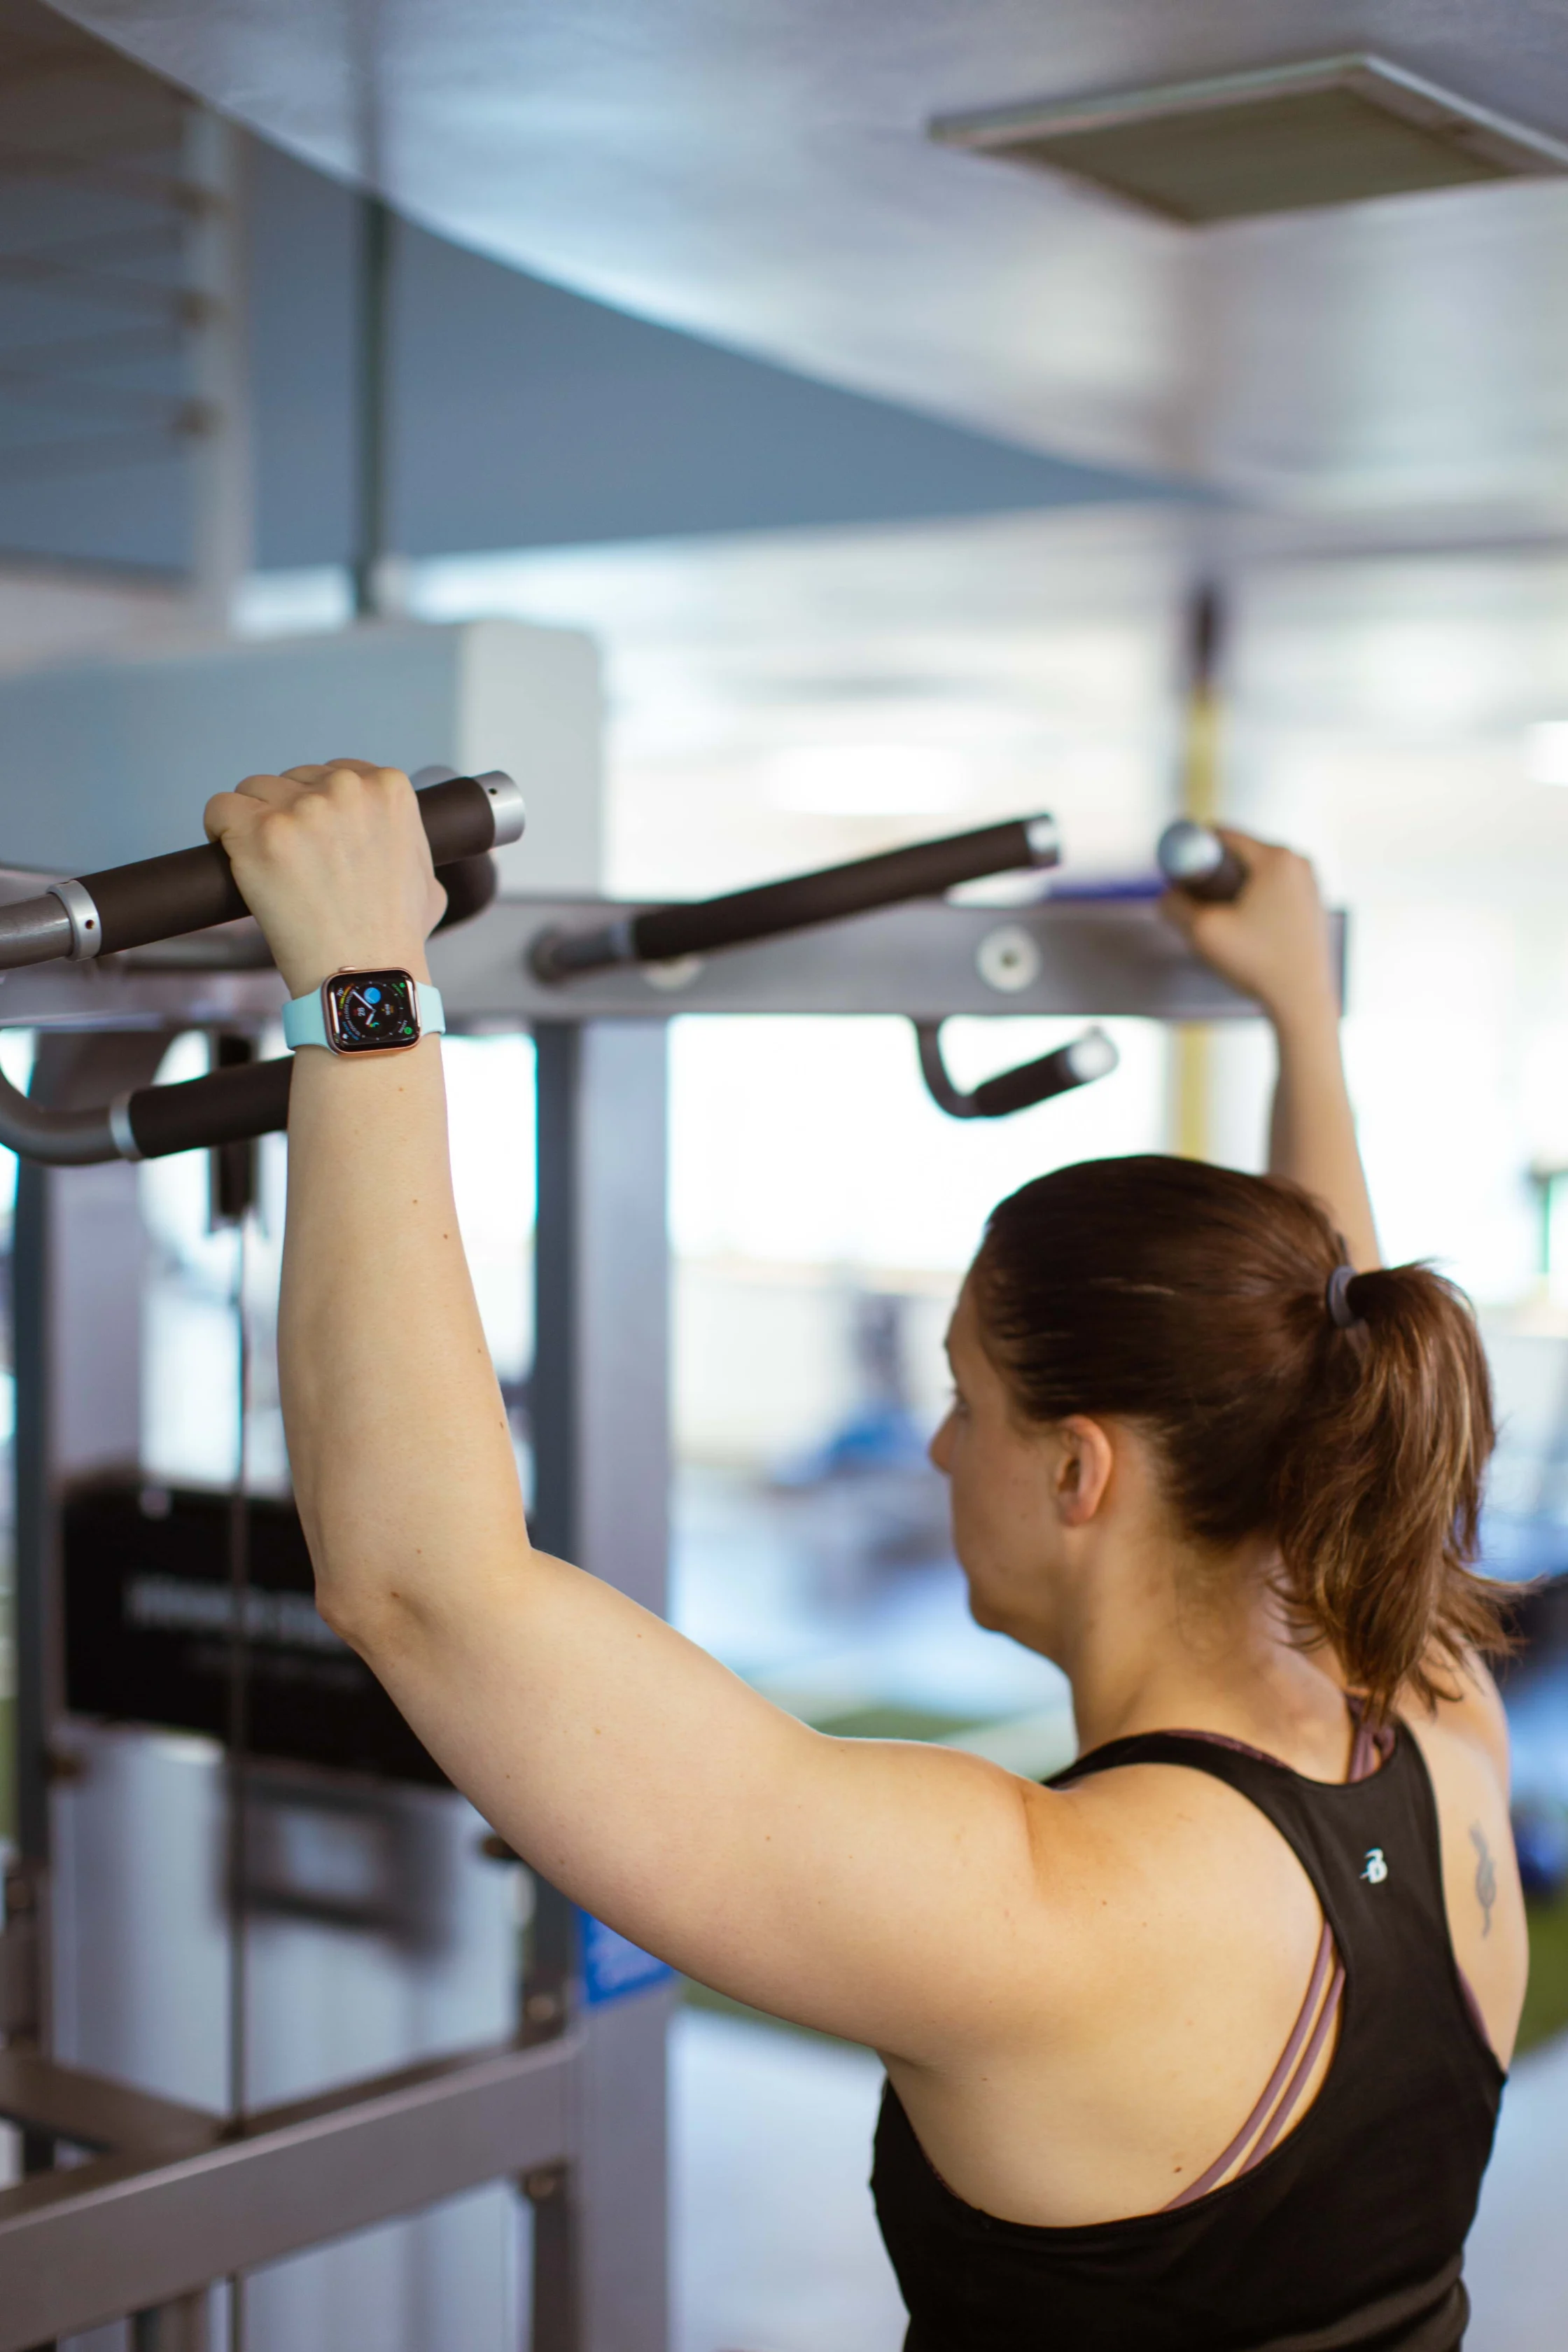
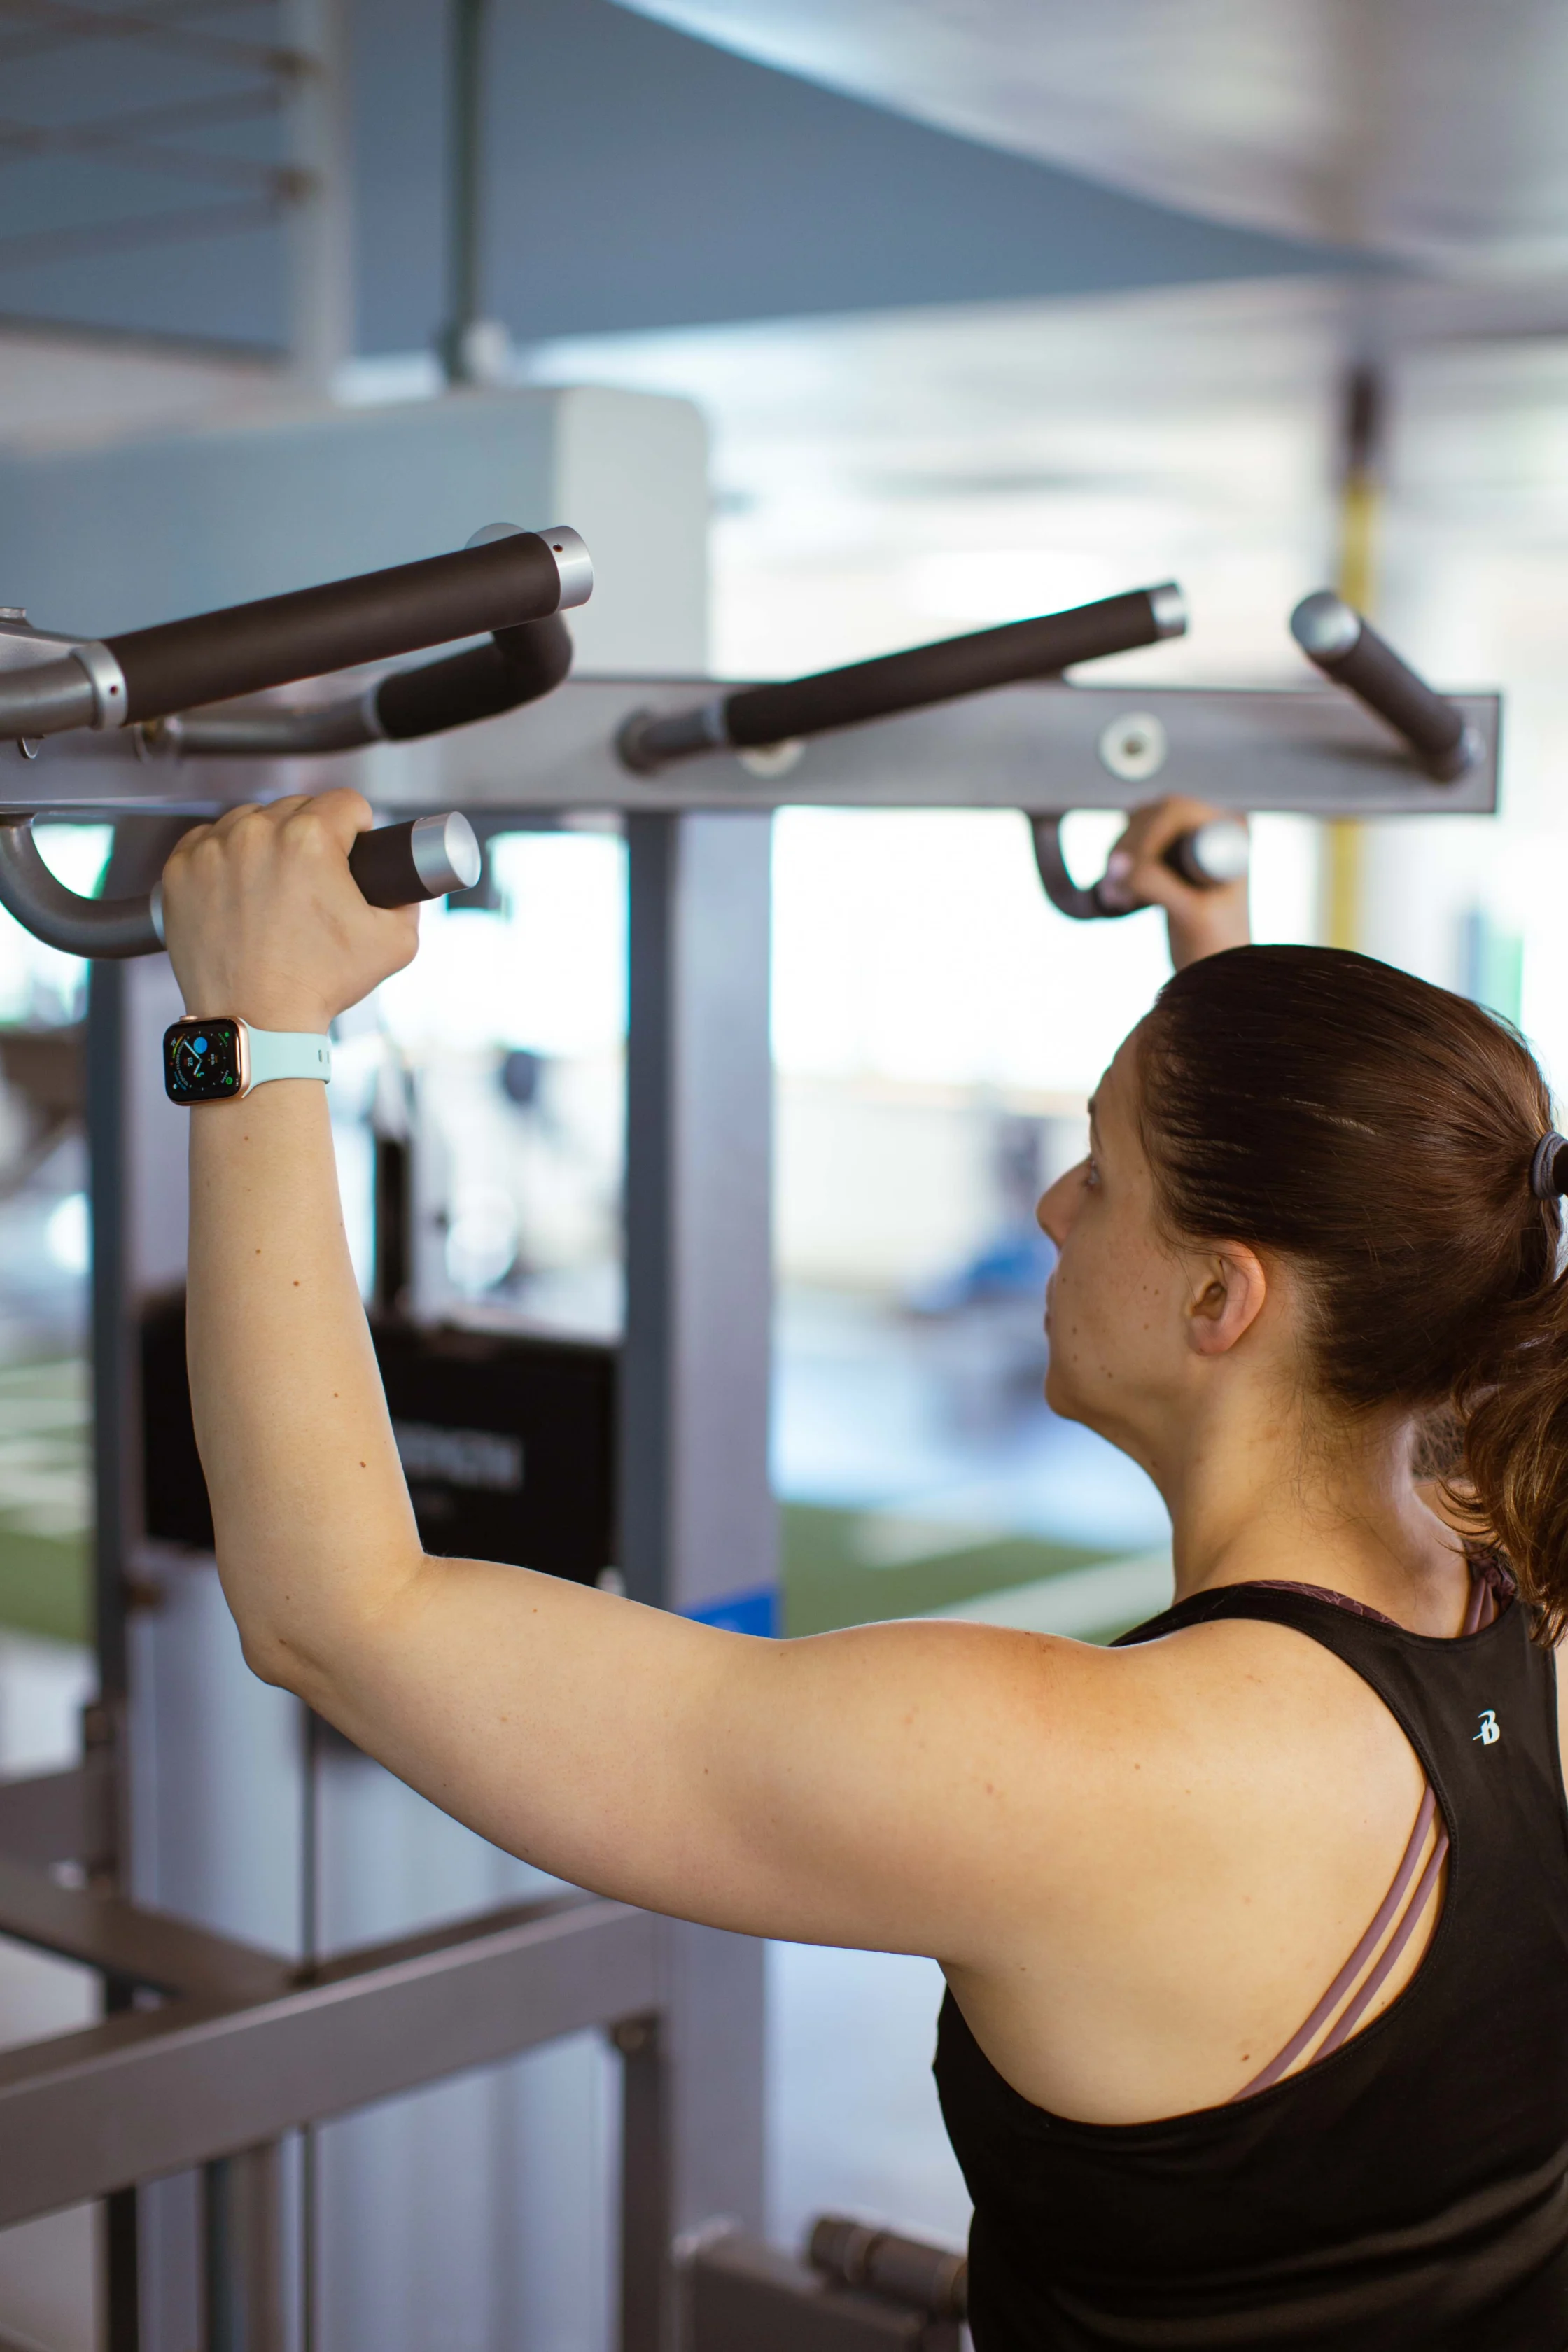
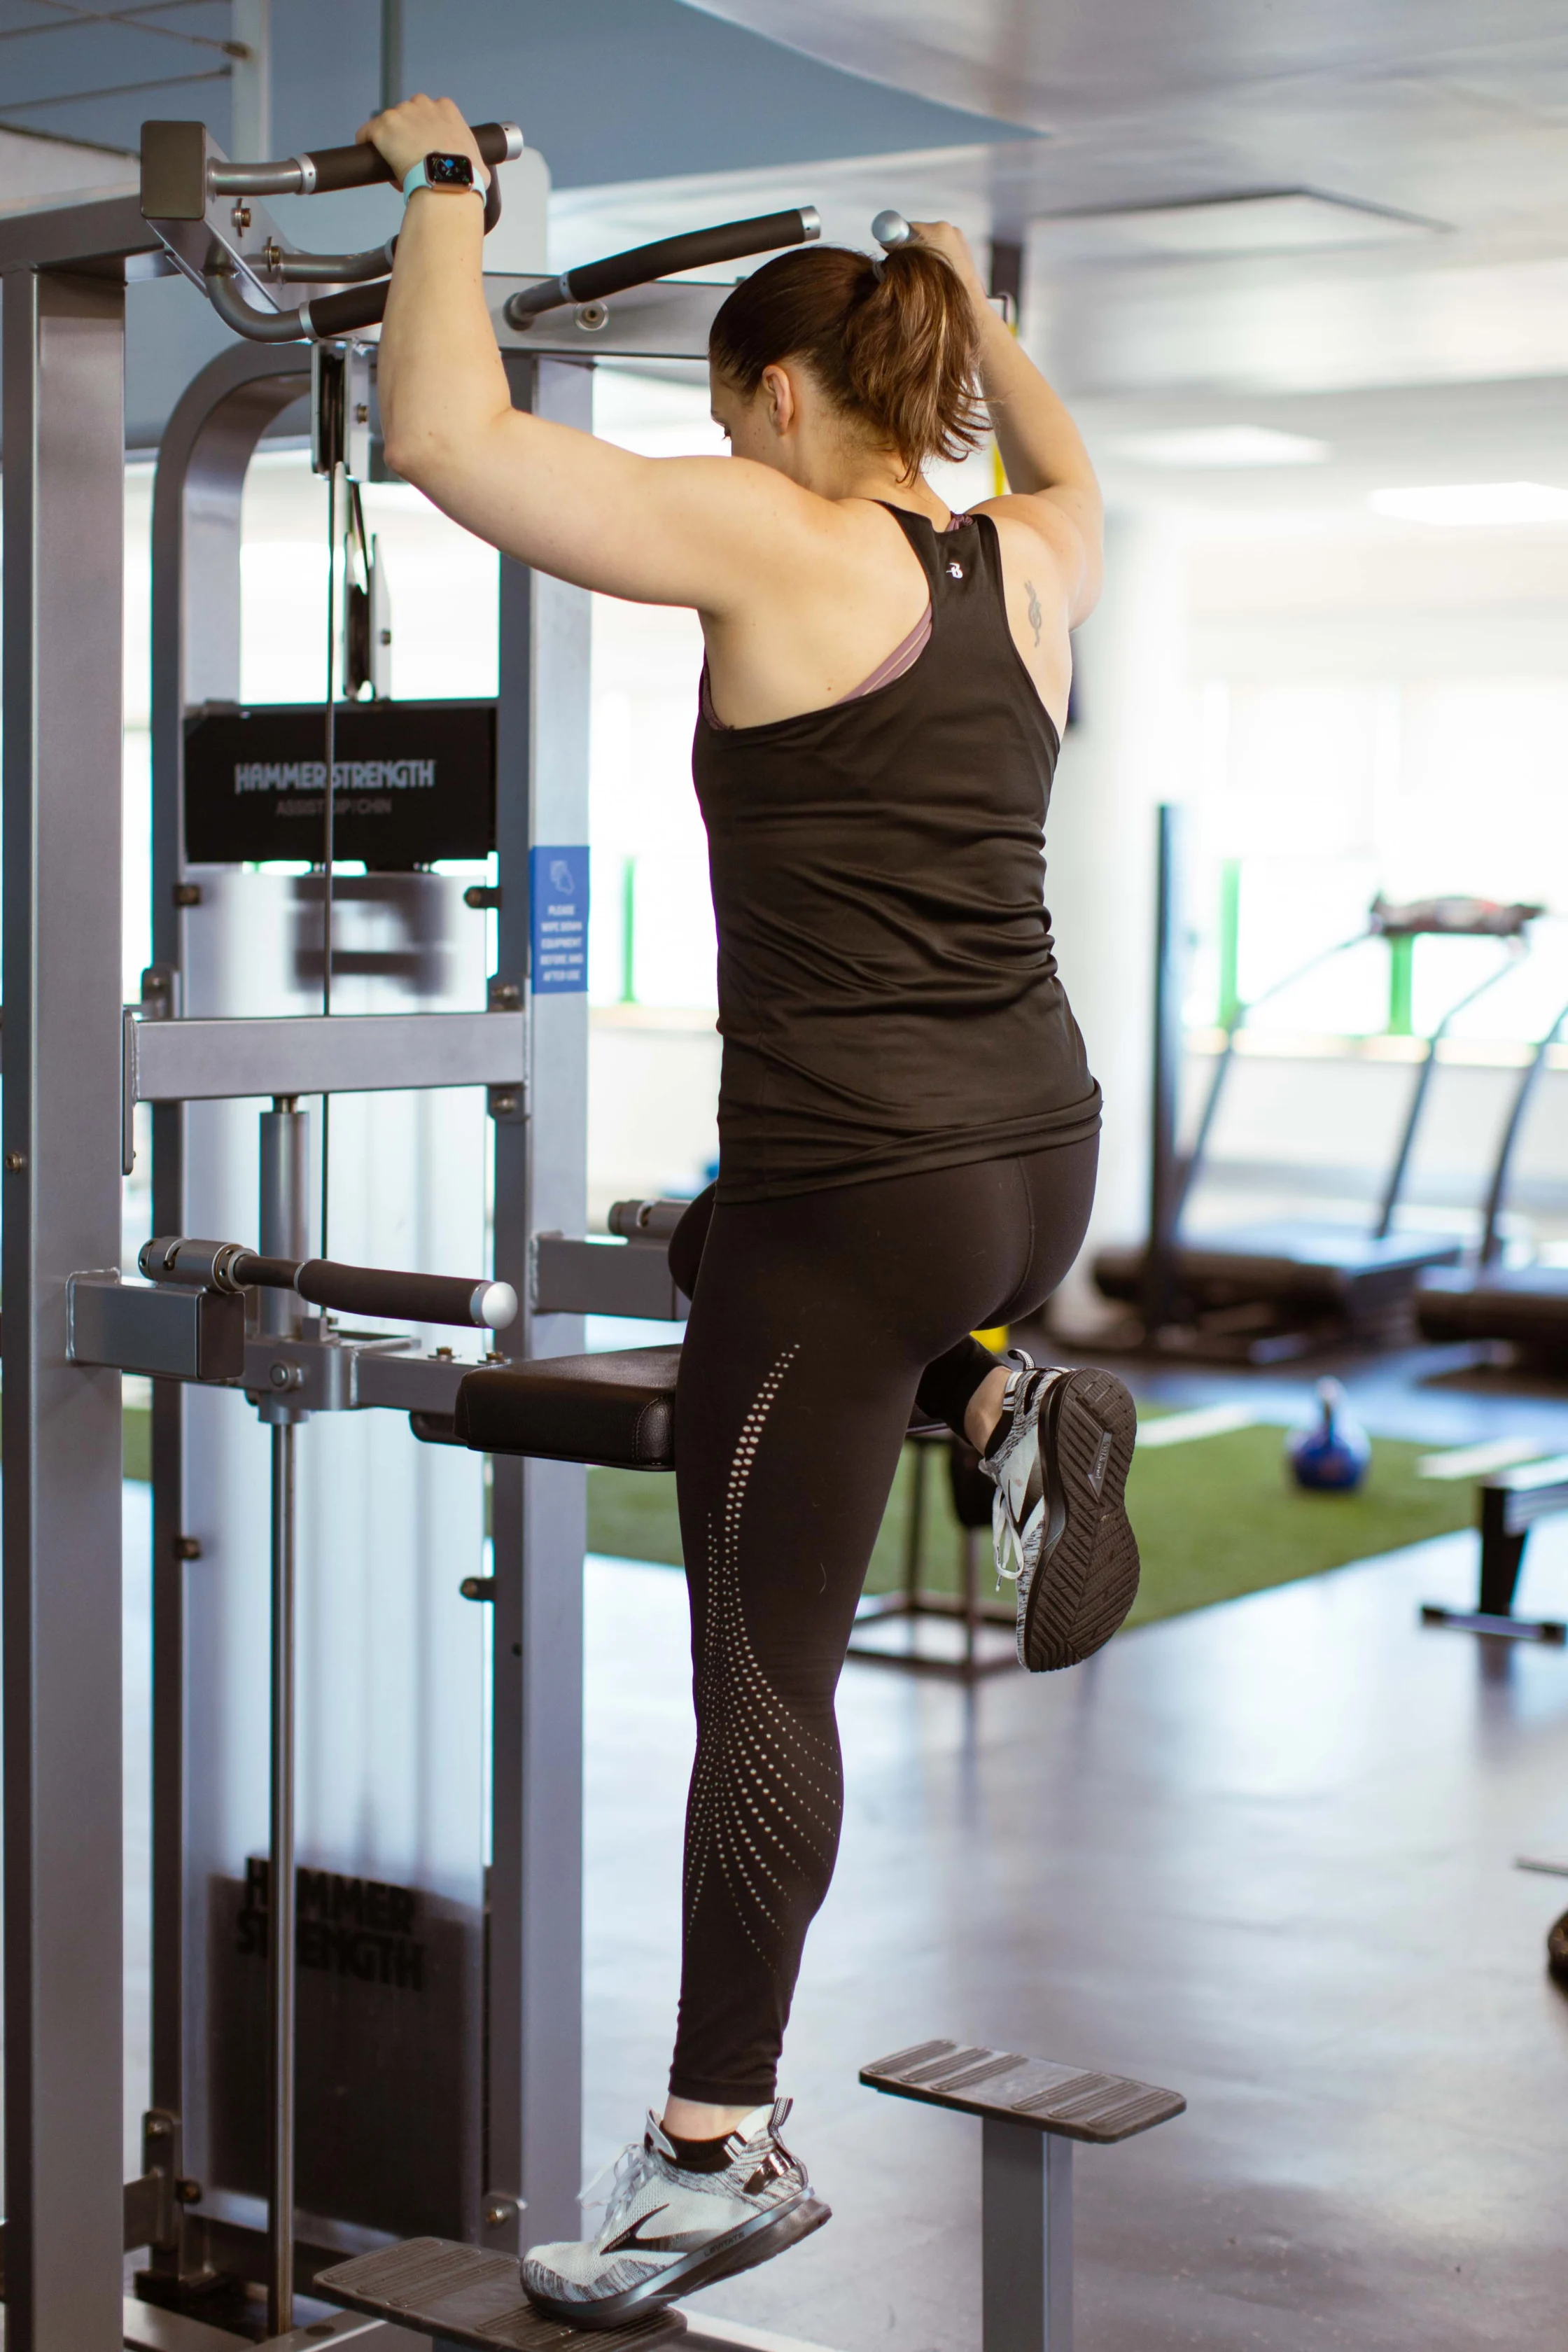
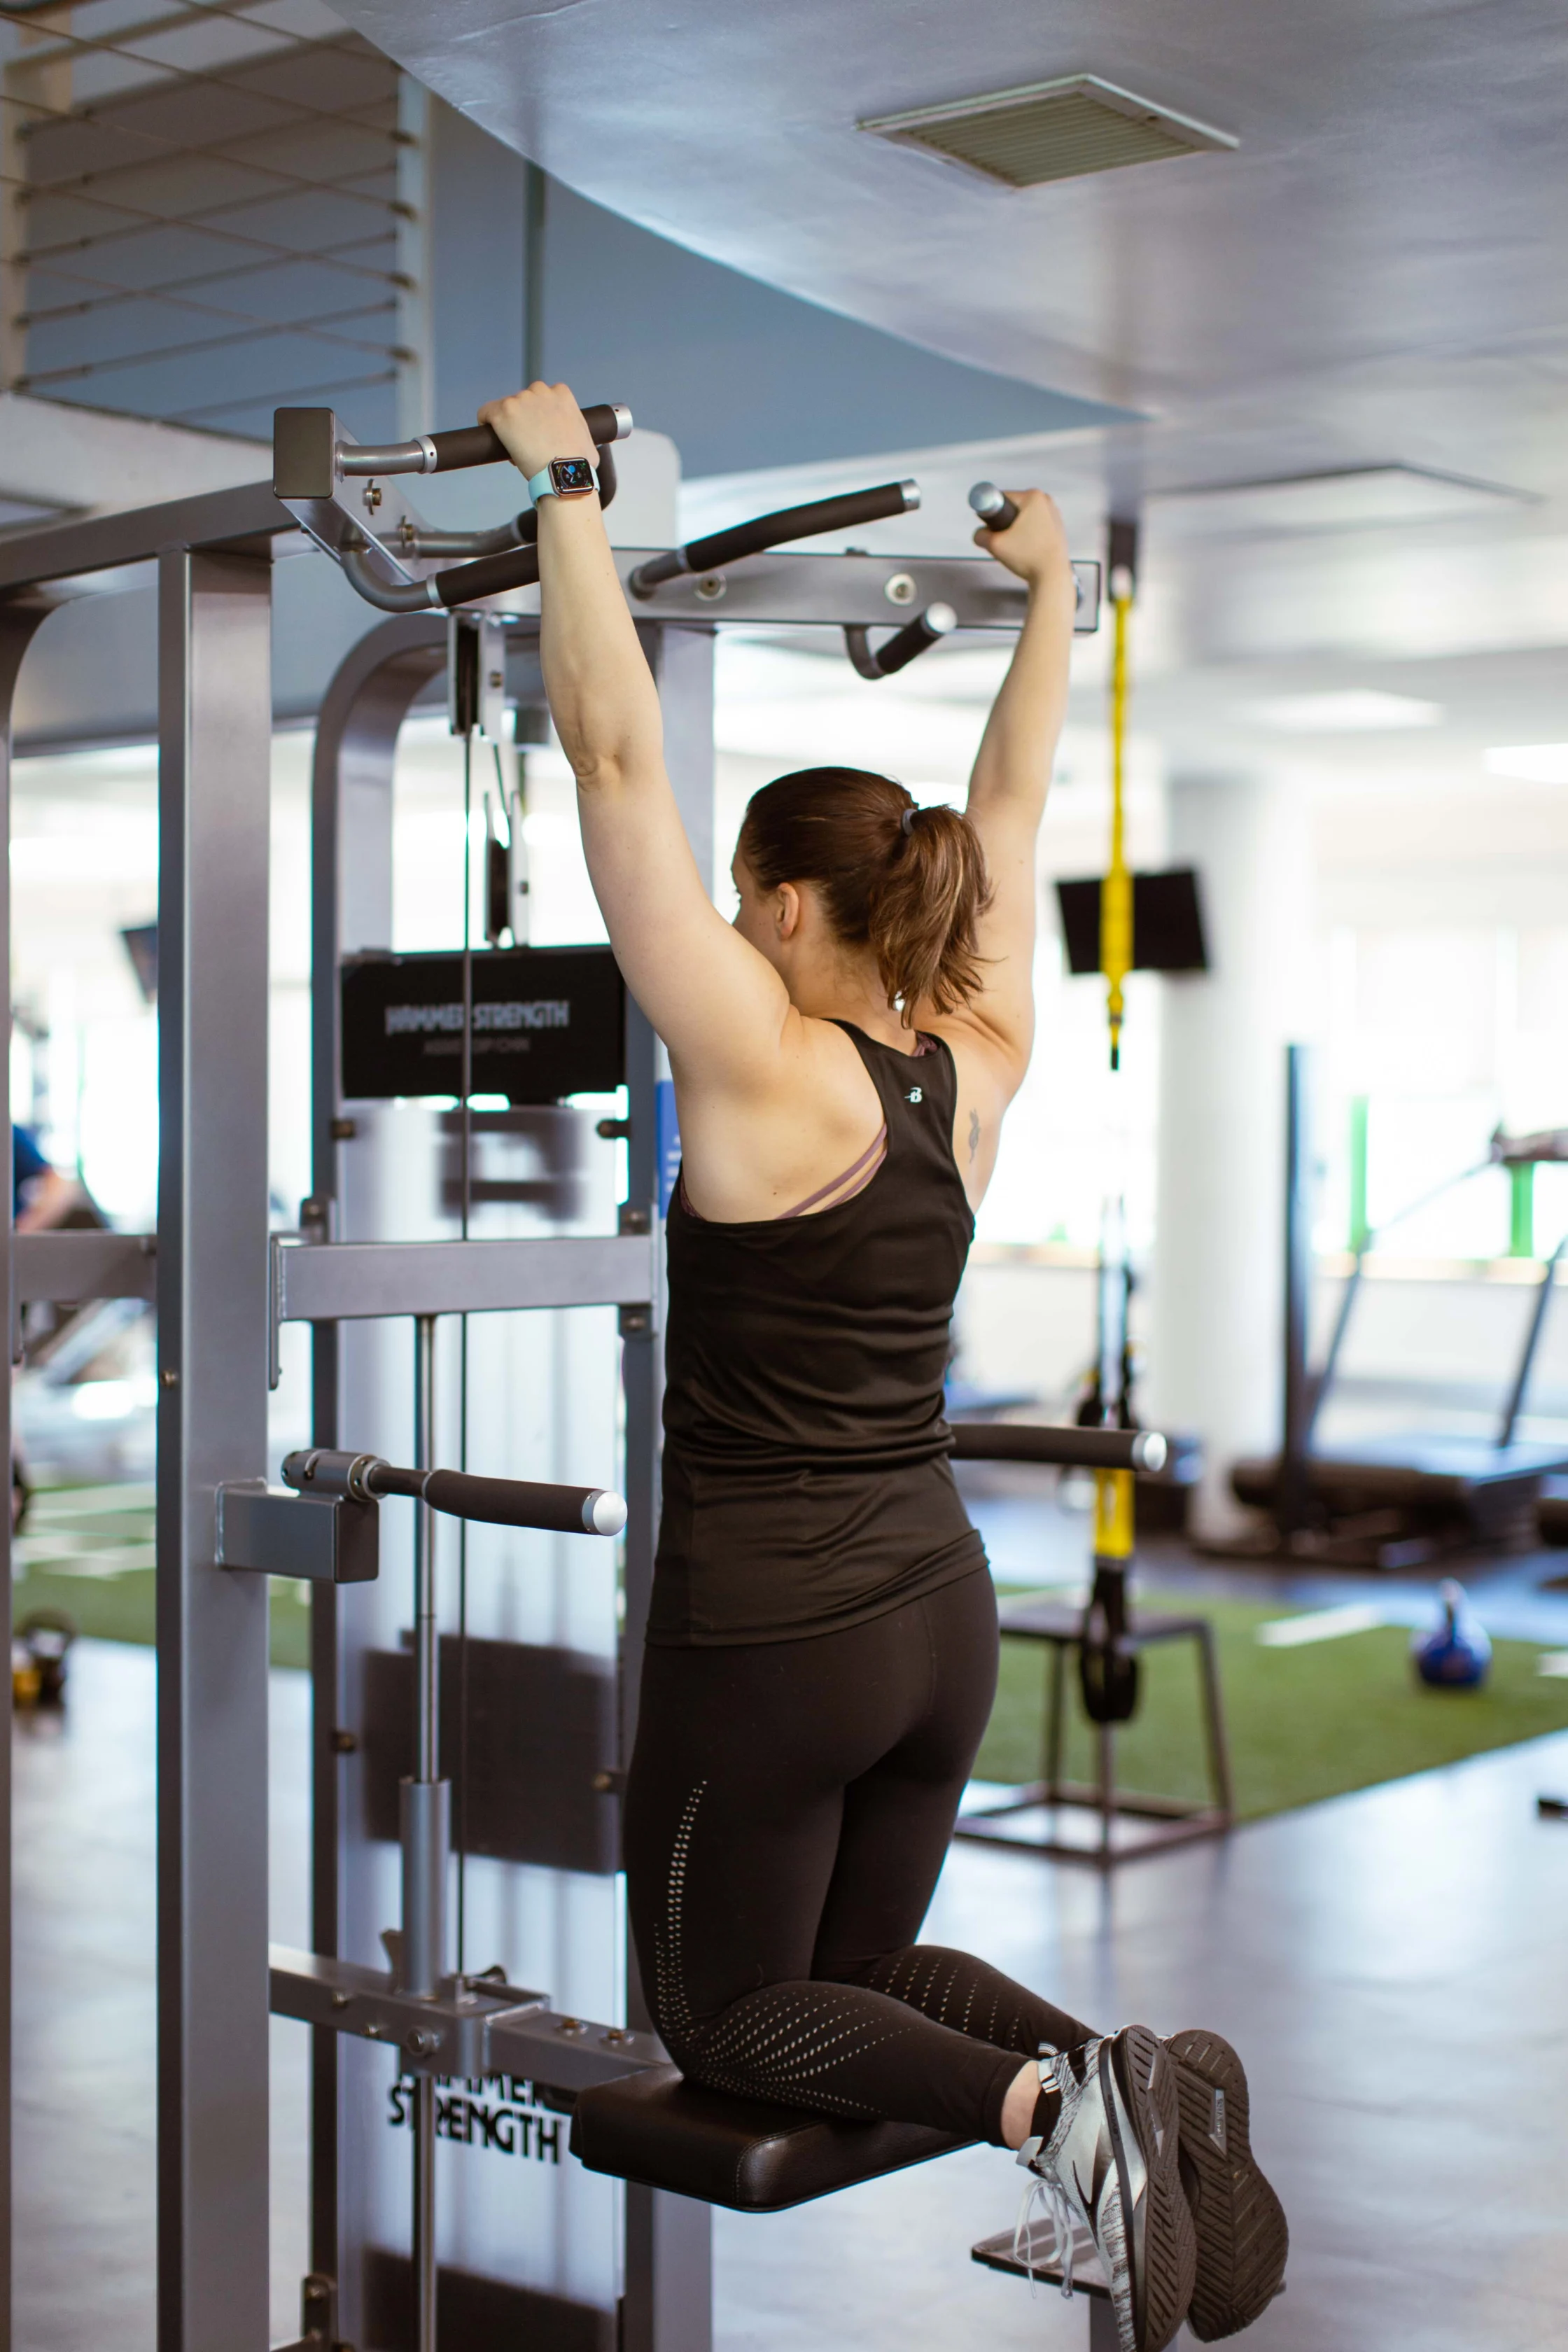
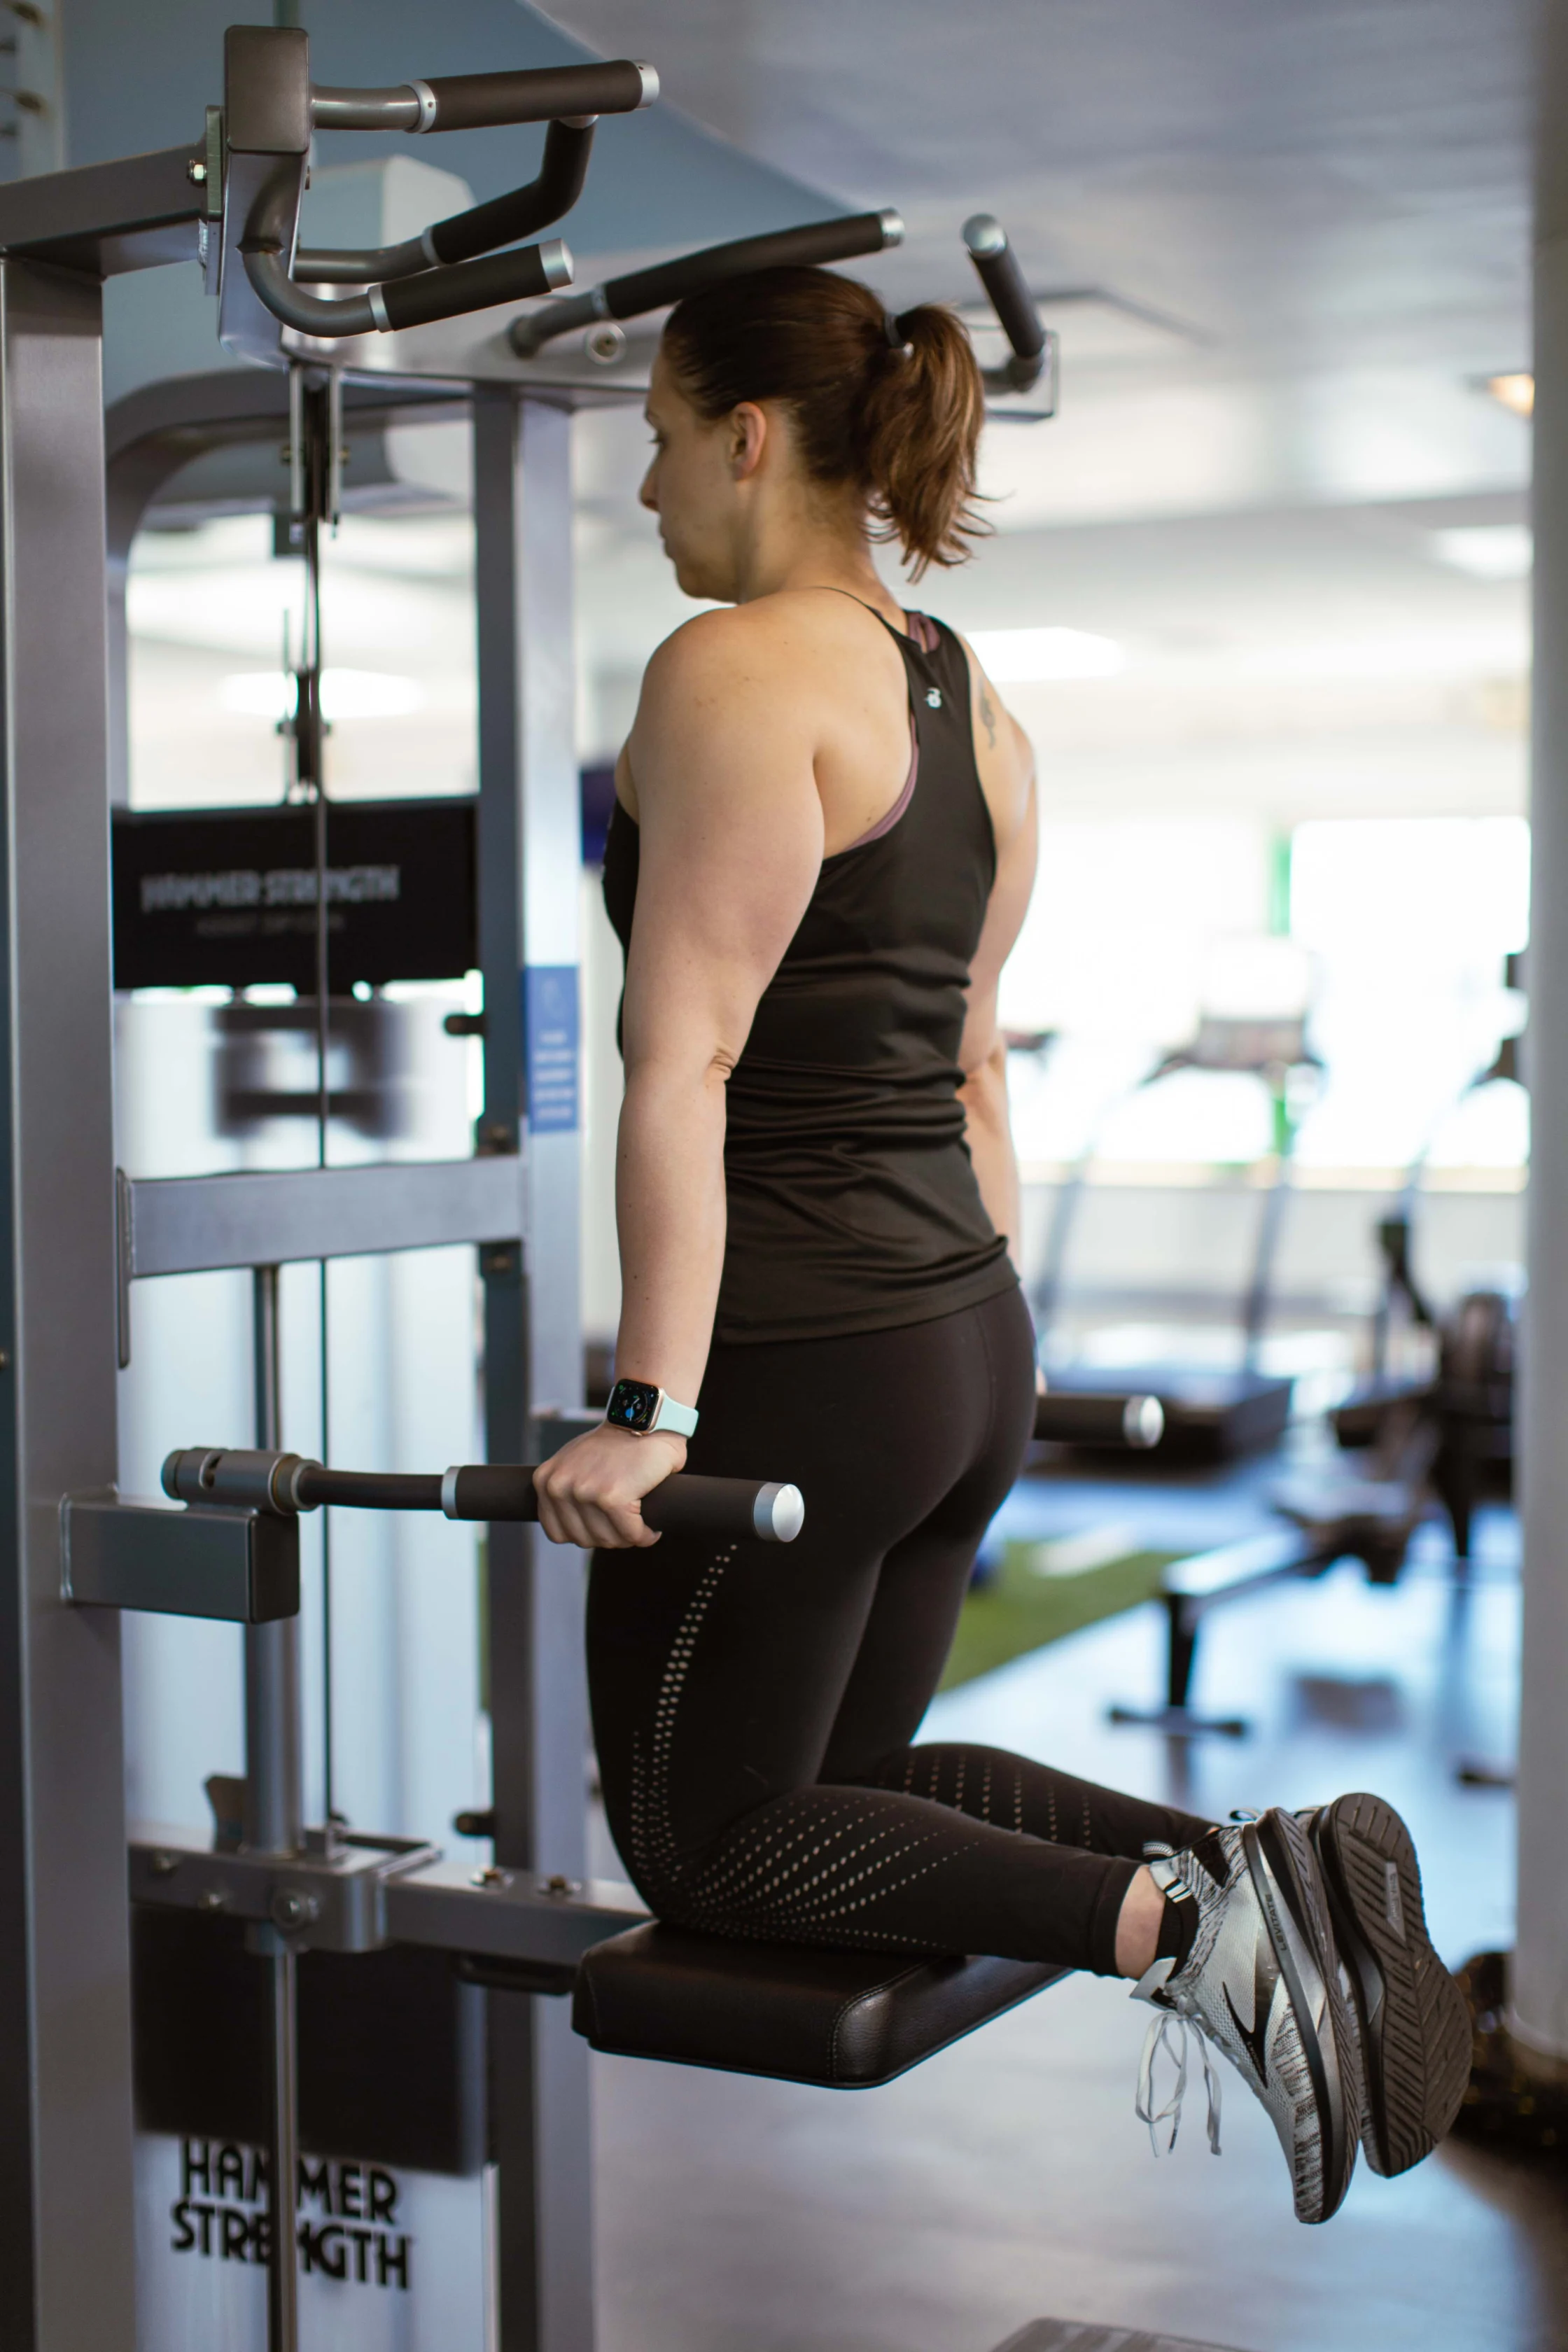
Once you’ve figured out how much weight you need the machine to help you with and chosen the right grip, you’re ready to get started. First, you’ll want to safely get on the machine. Be careful to only get on and off the machine when the pad is in its fully raised position. Step up on the footrests, grab the handles, and kneel on the pad one leg at a time. Make sure you have enough weight assistance before you support your full weight with your arms. Finally, suspend yourself from the handles with your arms extended. Now, before you get to the pulling part, you should start thinking about form.
Focus on Form
An often-overlooked benefit of machine-assisted bodyweight exercises is that they let you focus on practicing your form instead of struggling to execute the move. It’s important to build solid habits when you’re first starting out so that you keep the correct form as you work toward an unassisted pull-up.
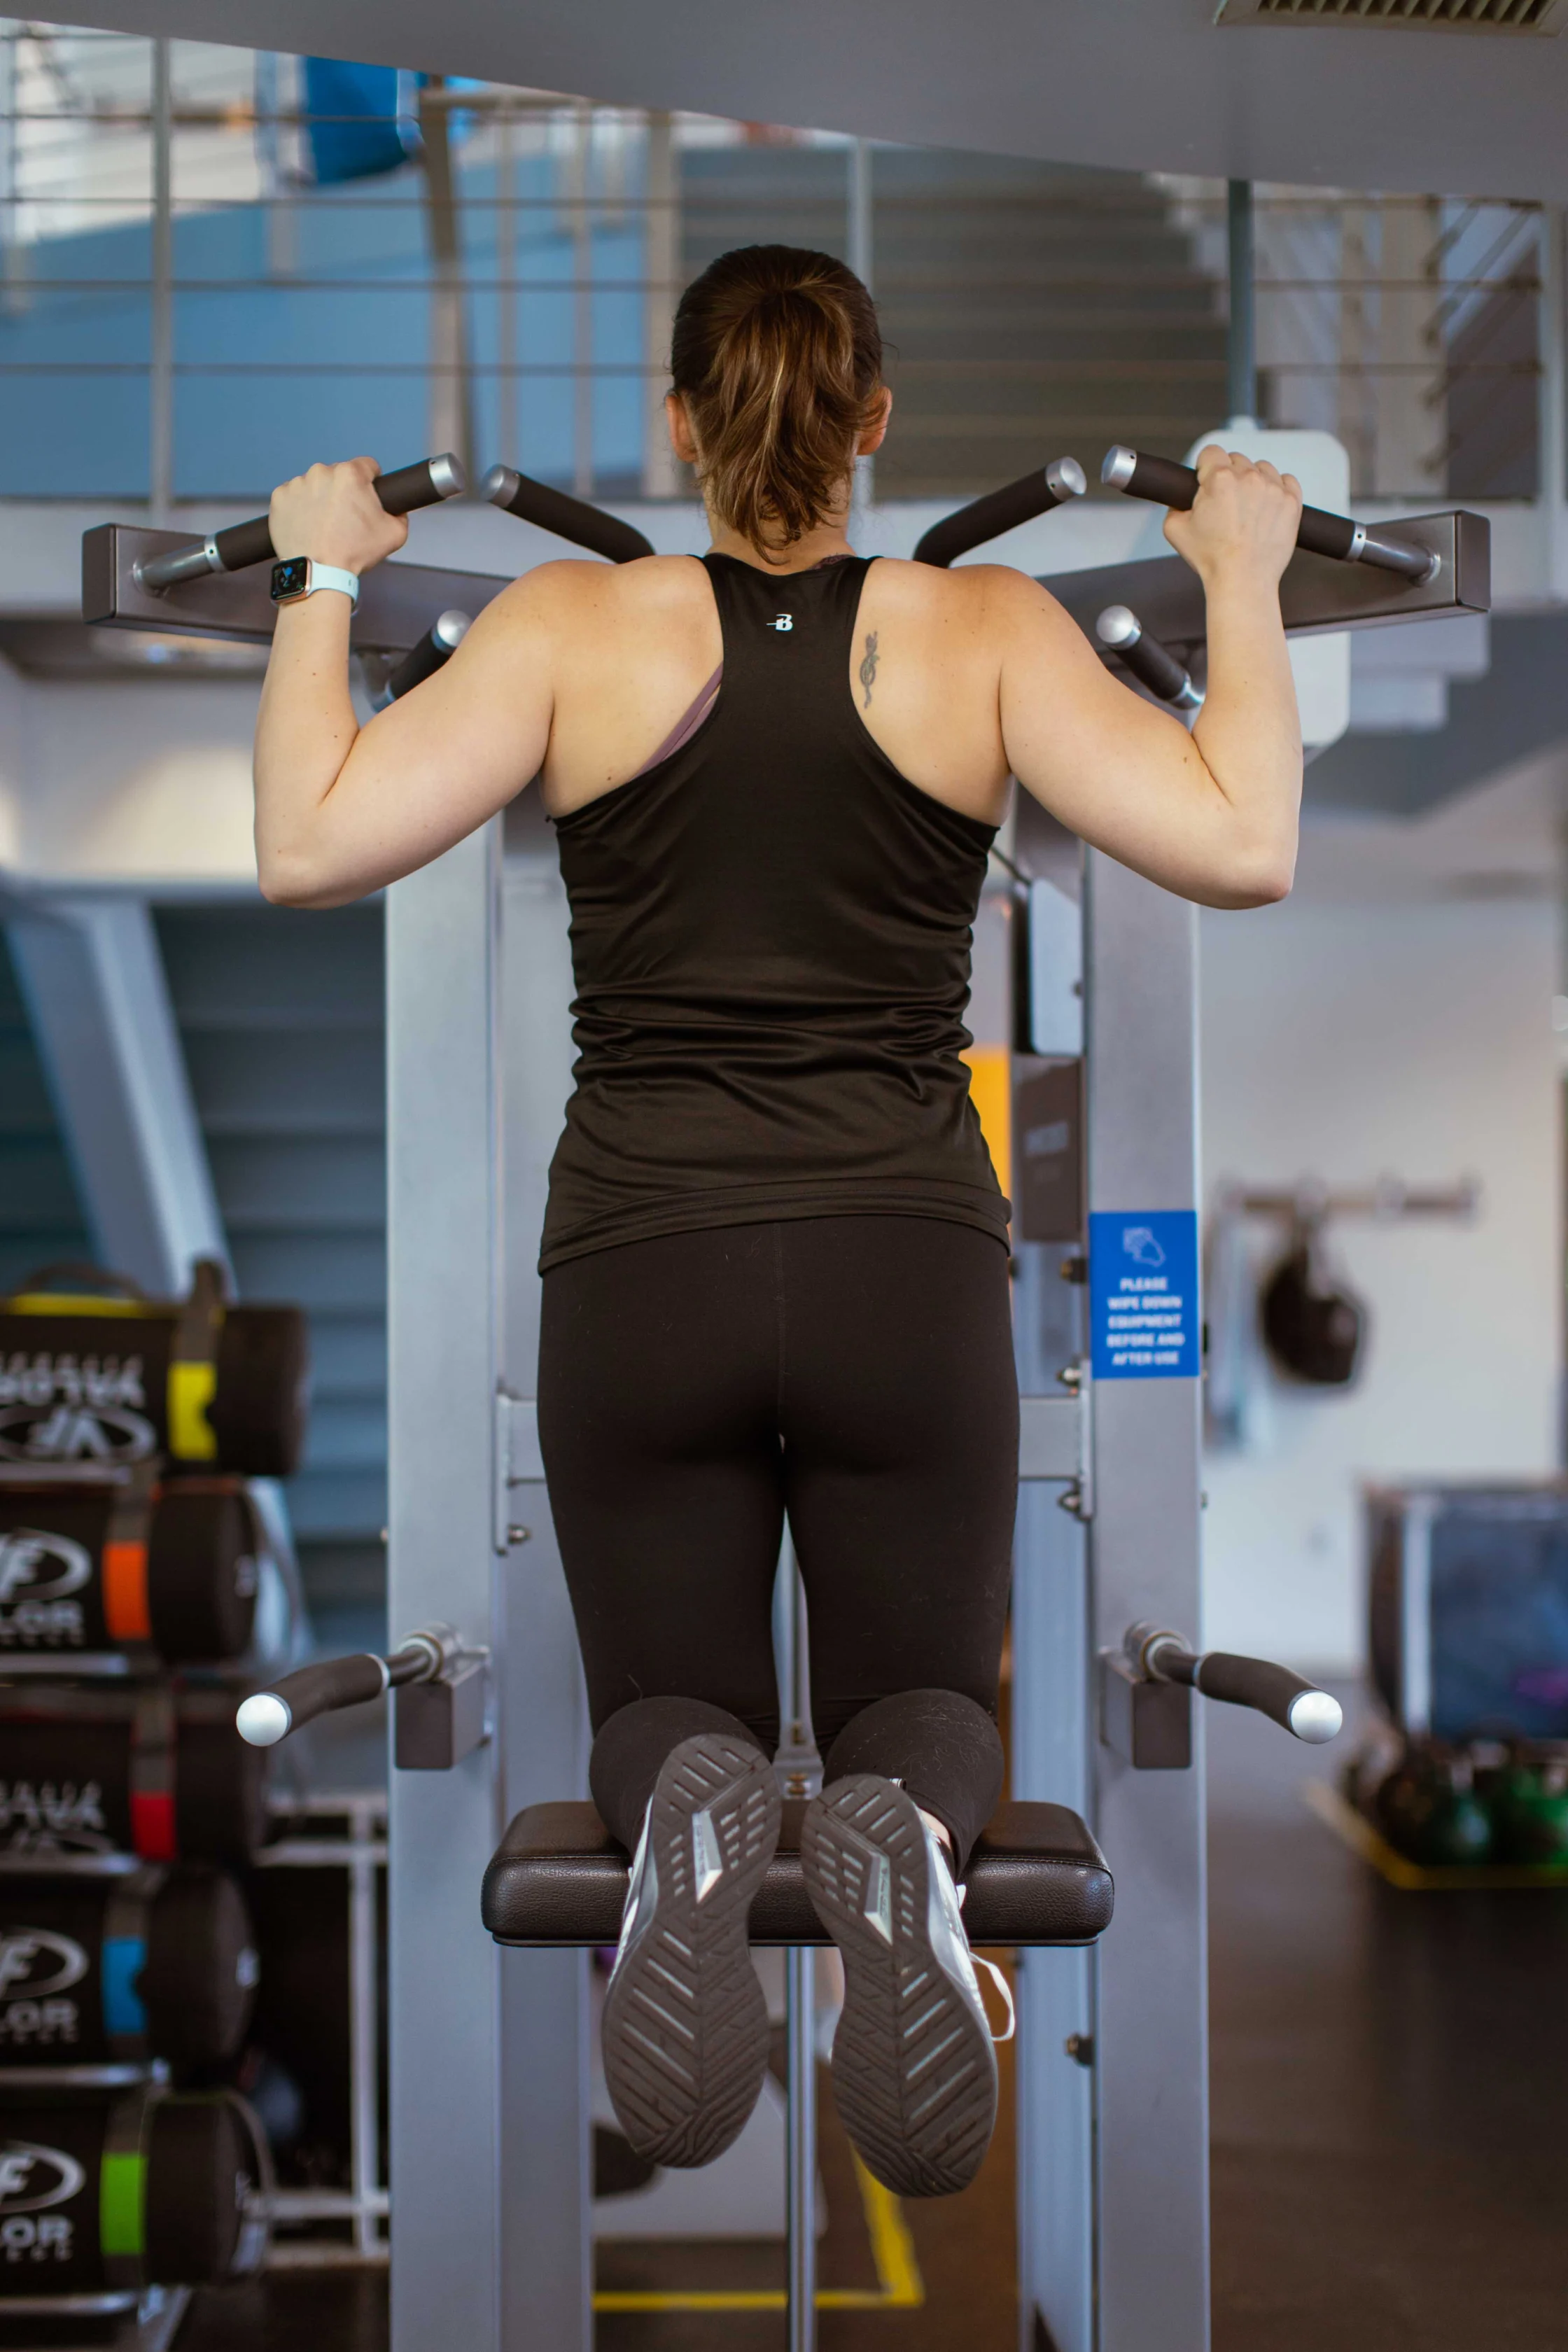
Throughout the exercise, you’ll want to keep your core muscles contracted. It can be tempting to relax your core since you’re supported by the knee pad, but you need to form a solid base for your arms and back to pull against. Plus, you’ll get way more out of the exercise if you consciously engage your core.
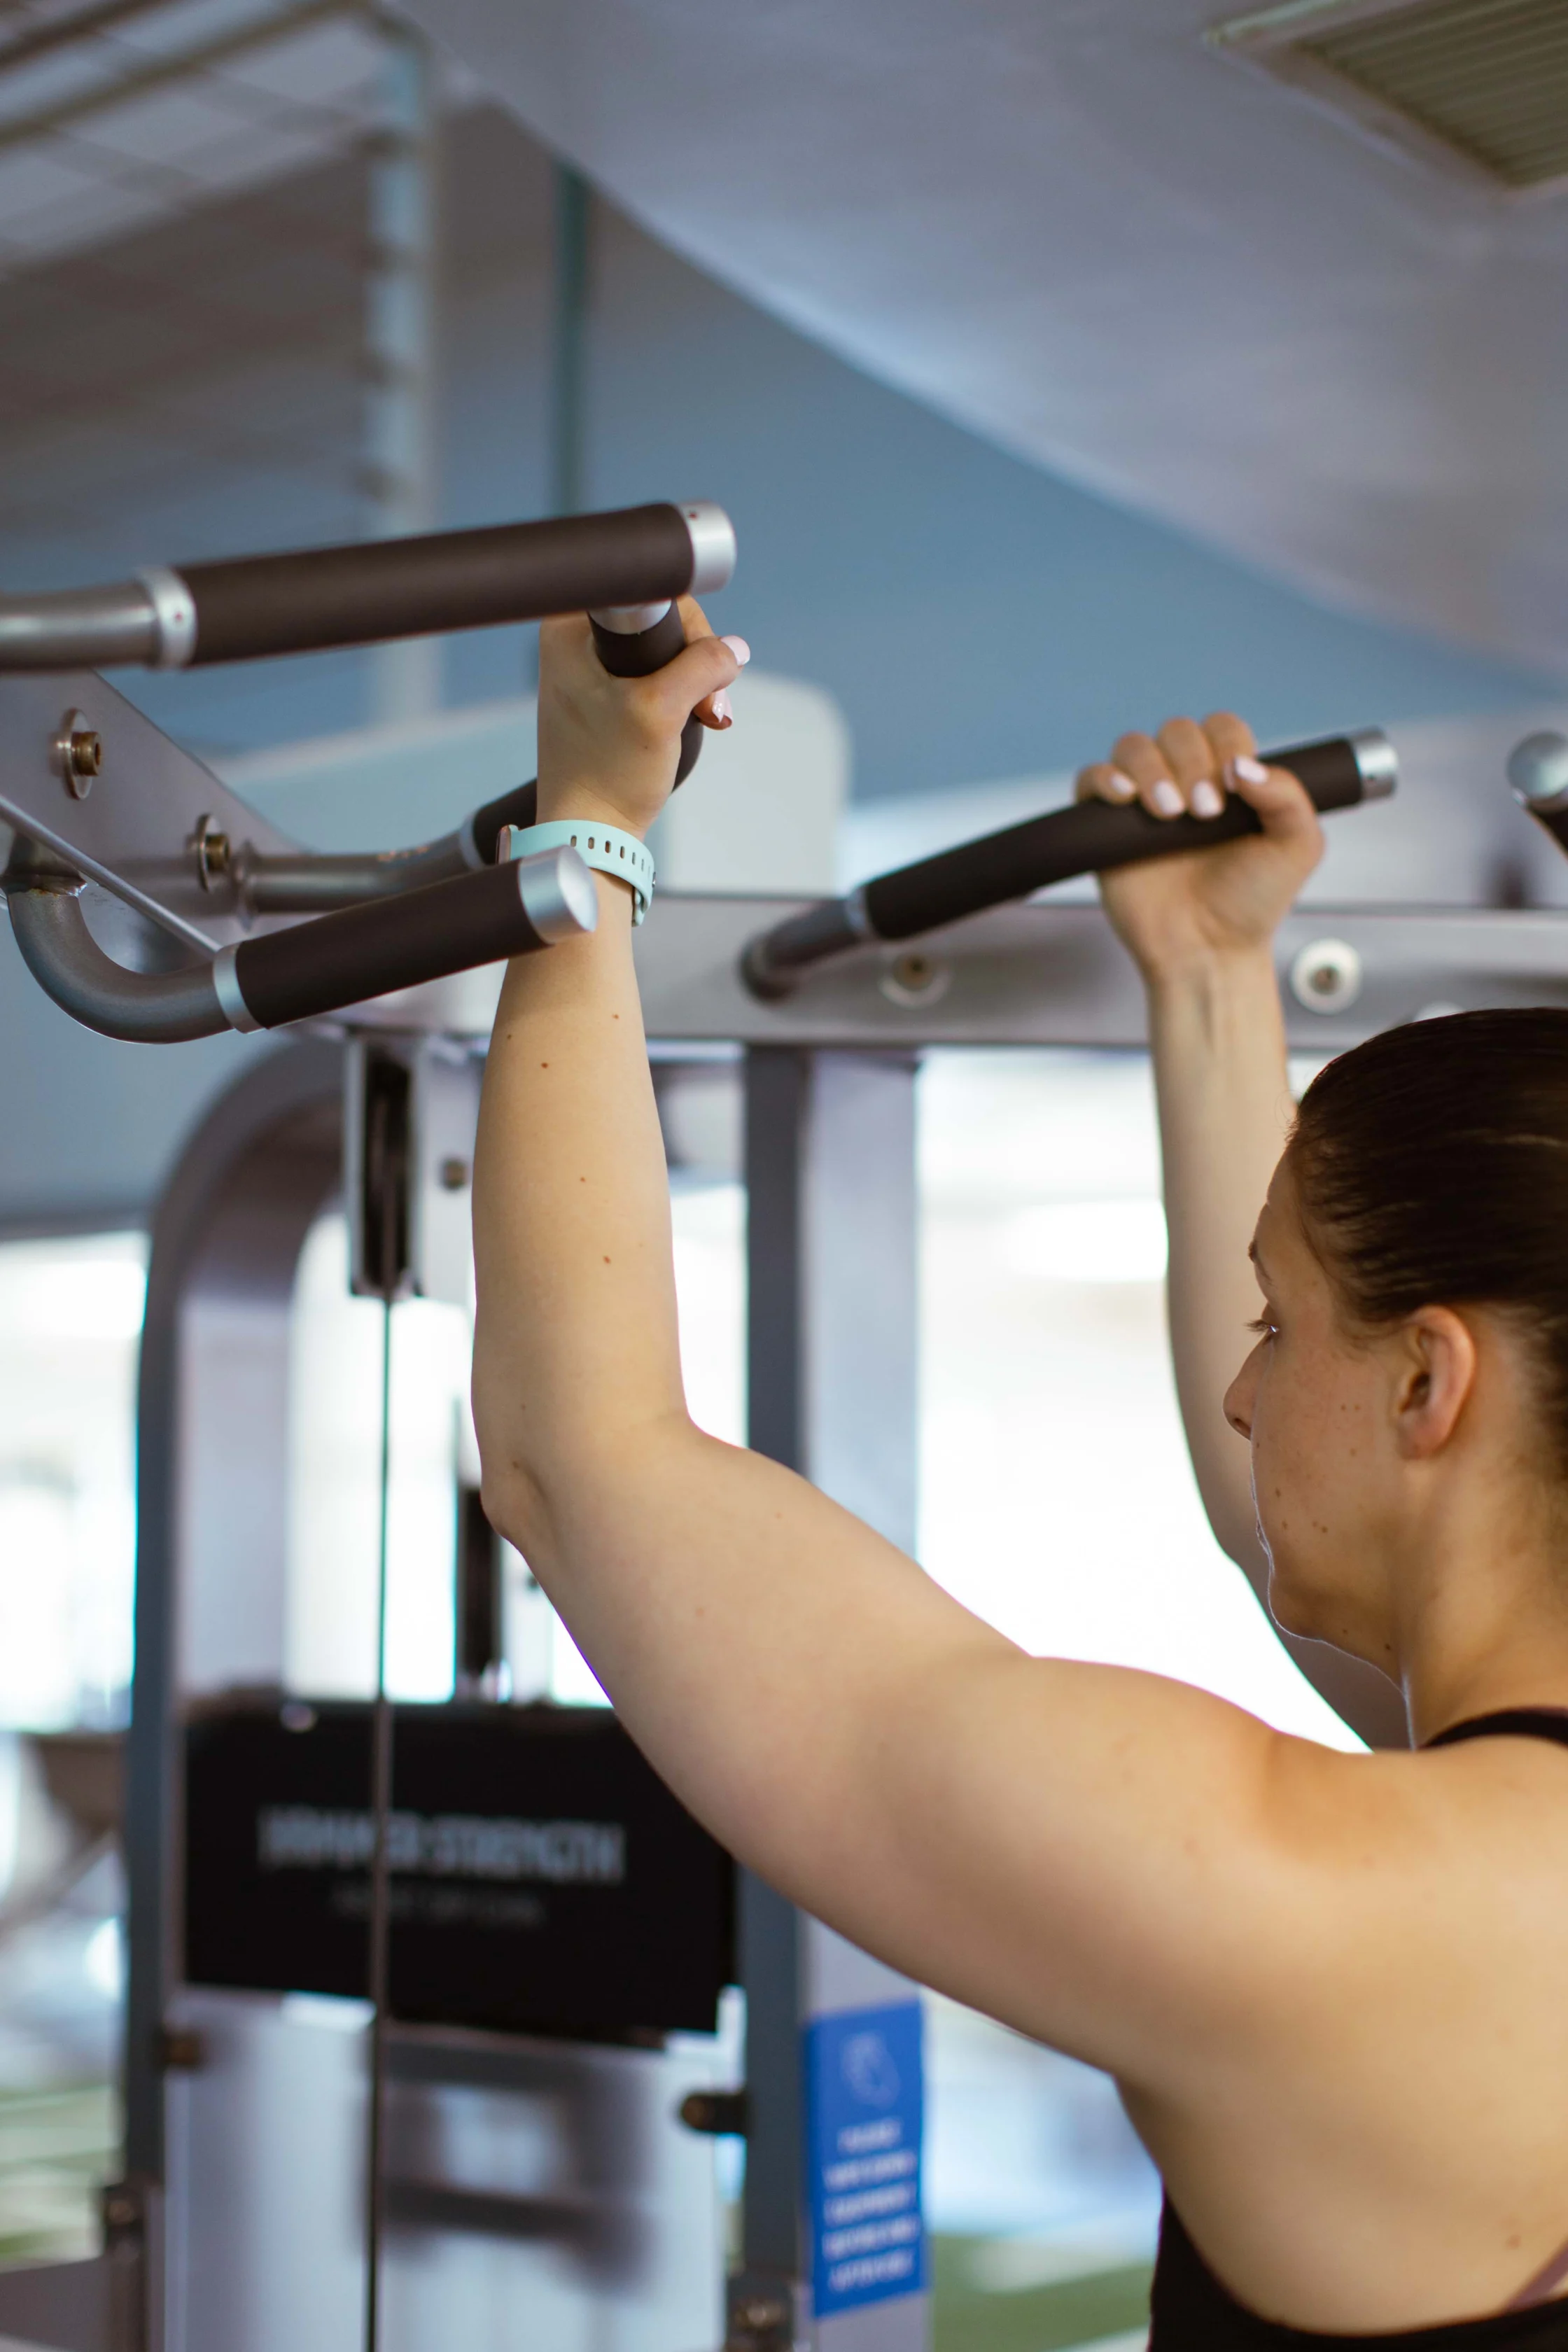
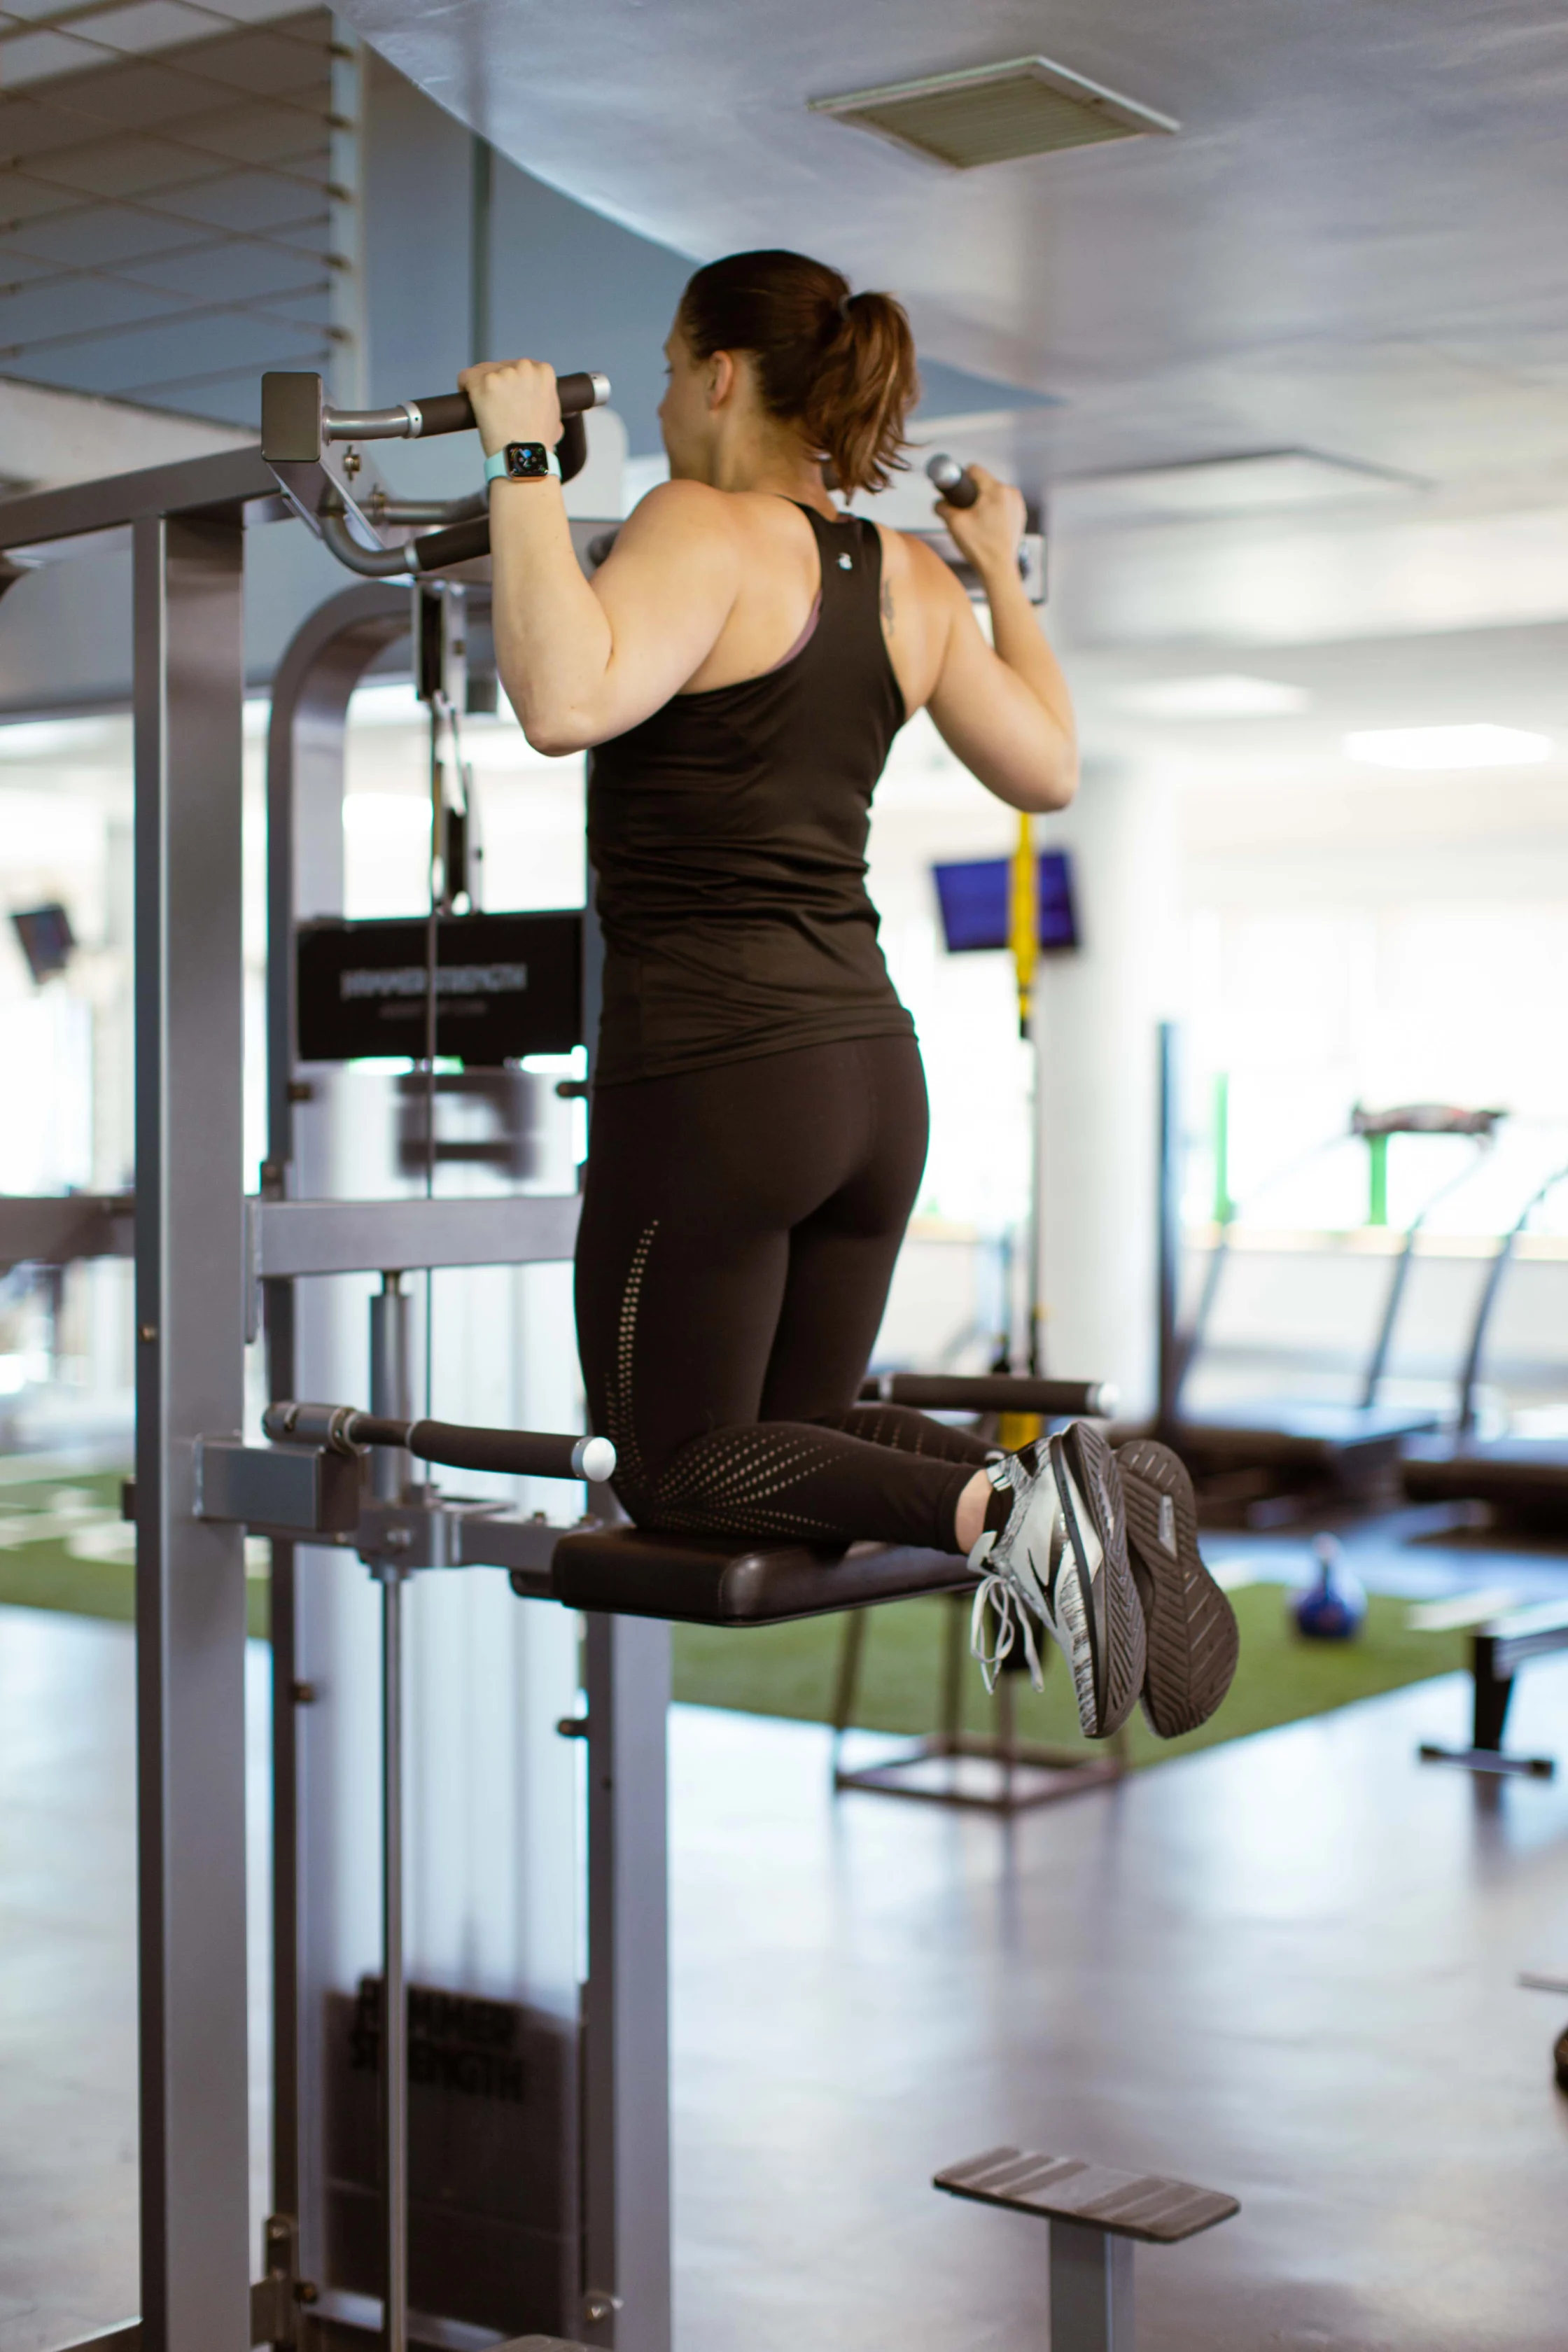
The motion of a pull-up starts at the bottom, with your arms fully extended. From this position, engage your back and arms to pull yourself up until your chin is just above your hands. Focus on keeping your torso straight and your shoulders back. Exhale while your body is in upward motion. Be sure to take advantage of the machine’s assistance and pull yourself all the way up until your chin is parallel with your knuckles. If you’re struggling, it might be time to add more weight to the machine.
From there, lower your body down toward the starting position. Focus on keeping this part of the motion controlled – it can be tempting to let yourself drop. But keeping your body under control here is an important part of exercise. Inhale while you’re lowering yourself. Make sure your arms are fully extended when you reach the lowered position so that you get the most range of motion out of this exercise.
Now, do it again! Try to do the motion five to 10 times and then rest for 30 seconds before trying again. If you feel like you don’t get it right the first few times, don’t worry! Consistency and practice are important here. Our personal trainers are ready to help you.
Bonus: Don’t Forget About Dips!
Dips are a great addition to any exercise routine involving pull-ups. While pull-ups primarily target your back and biceps, dips target the complementary upper-body muscles: chest and triceps. Dips are also a bodyweight exercise, so working up to completing them without assistance can be challenging for a beginner. Fortunately, the assisted pull-up machine can also help with dips! You can even start with the same weight assistance that you used for the pull-ups and adjust as needed. Dips will often require less weight assistance than pull-ups.
To do a dip, support yourself on the kneepad by gripping the horizontal bars near your hips. Keep your arms extended and your back straight. Don’t lock your elbows! Locking your elbows will strain your joints and keep your muscles from doing work. As with pull-ups, keep your core muscles flexed so that your chest and arms have a strong base to work from.
Now for the dip. Lower yourself toward the floor, keeping your elbows tucked in at your sides. Stop when your elbows are bent at about a 90-degree angle, so that your upper arms are parallel to the floor. Focus on making sure your elbows are bent all the way – a lot of people cheat themselves and don’t go through the full range of motion.
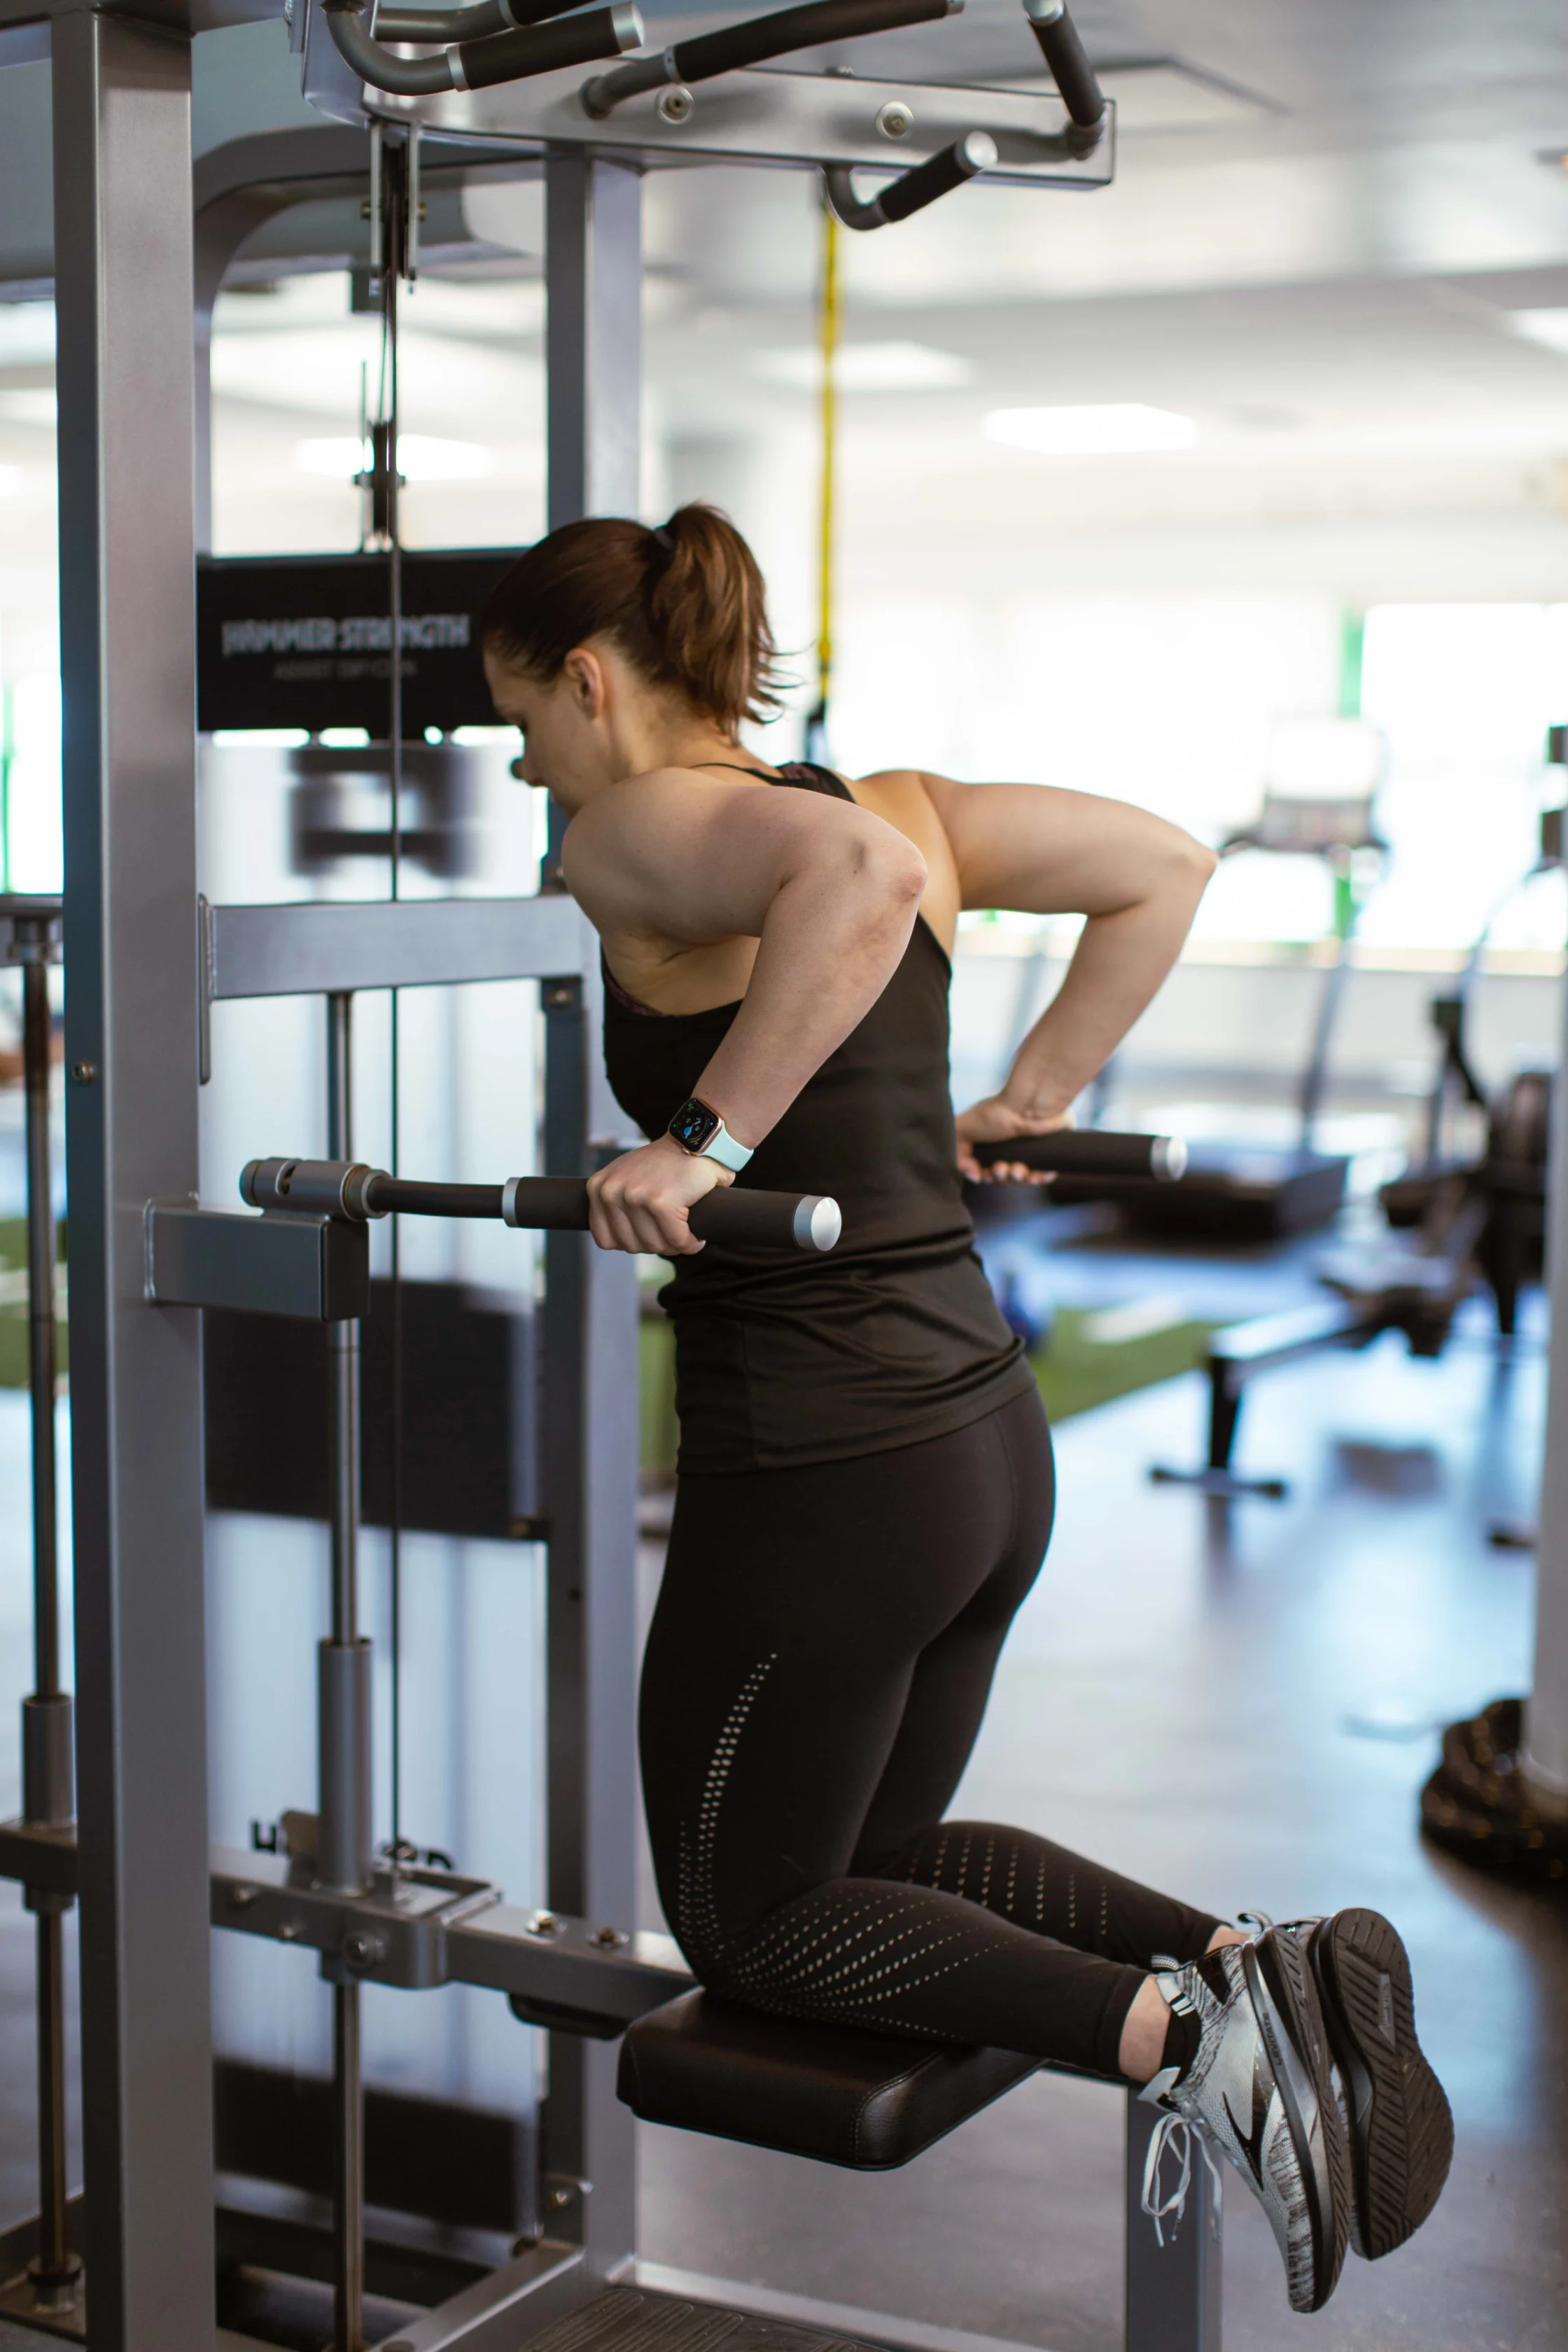

Now, push yourself back up to the starting position. As always, keep your core engaged, while your arms do most of the work.
Both dips and pull-ups make for a great addition to your upper-body workout routine. The assistance that this machine provides is a great way for beginners to take advantage of these exercises. Plus, there’s nothing like the feeling of accomplishment you get when you’re finally able to do pull-ups or dips on your own!
Upper Body Workout for Beginners
Try this quick upper-body workout! You’ll be exercising your shoulders, back, chest, biceps, and triceps, alongside lots of smaller stabilizing muscles.
Dumbbell overhead press (5 sets of 5 reps, rest 30 seconds to a minute in between sets)
A great exercise for your shoulders and triceps that you can easily scale to suit your fitness level! If you’re just starting out, you can pick a dumbbell that’s as light as a couple of pounds and work your way up from there.
Dumbbell rows (5 sets of 5 reps, rest 30 seconds to a minute in between sets)
Dumbbell rows work your back and biceps and are just as easy to scale as the overhead press.
Dips (3 sets of 15 reps, rest 30 seconds to a minute in between sets)
This is a great time to really work your chest! Remember that you can lean forward while doing your dips to involve your chest muscles.
Pull-ups (3 sets of 8 reps, rest 30 seconds to a minute in between sets)
Keep your core engaged! It’s important to exercise your stabilizing muscles if you want to get the most out of your workout.
Click here to watch the workout.
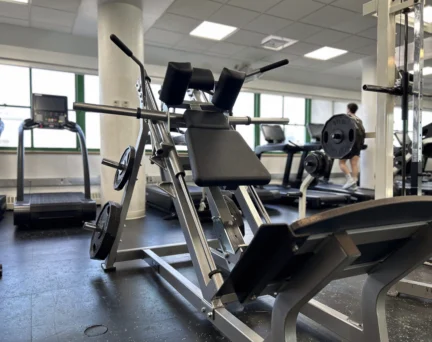
You can find the assisted pull-up machine on the right-hand side of the 4th floor in the fitness center on our Upper East Side campus, and in the middle of the fitness center on the main level at our Battery Park City location.